After insulating and levelling out the attic floor the next big job was insulating the roof. At first we thought we needed to replace the roof and dormers because of the age of the roof (90+ years) and the cracks between the boards. Which would be very costly. We received quotes ranging from €50.000 to €80.000 euros to replace the roof and dormers. But thanks to free advice from an expert we got thanks to our municipality, we decided that it was of good enough quality to insulate.
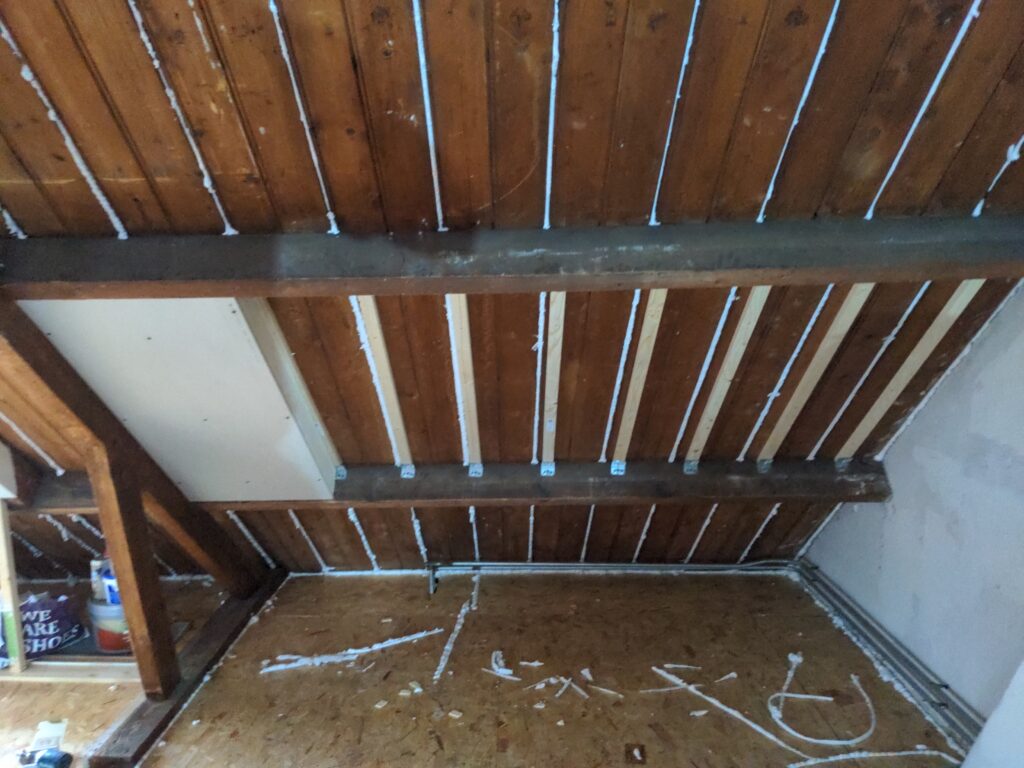
The expert recommended using a special flexible polyurethane foam to fill up the cracks between the boards and after that using PIR Insulation boards to actually insulate the roof. After doing some research we decided this sounded like a good plan. My uncle wanted to help out yet again!
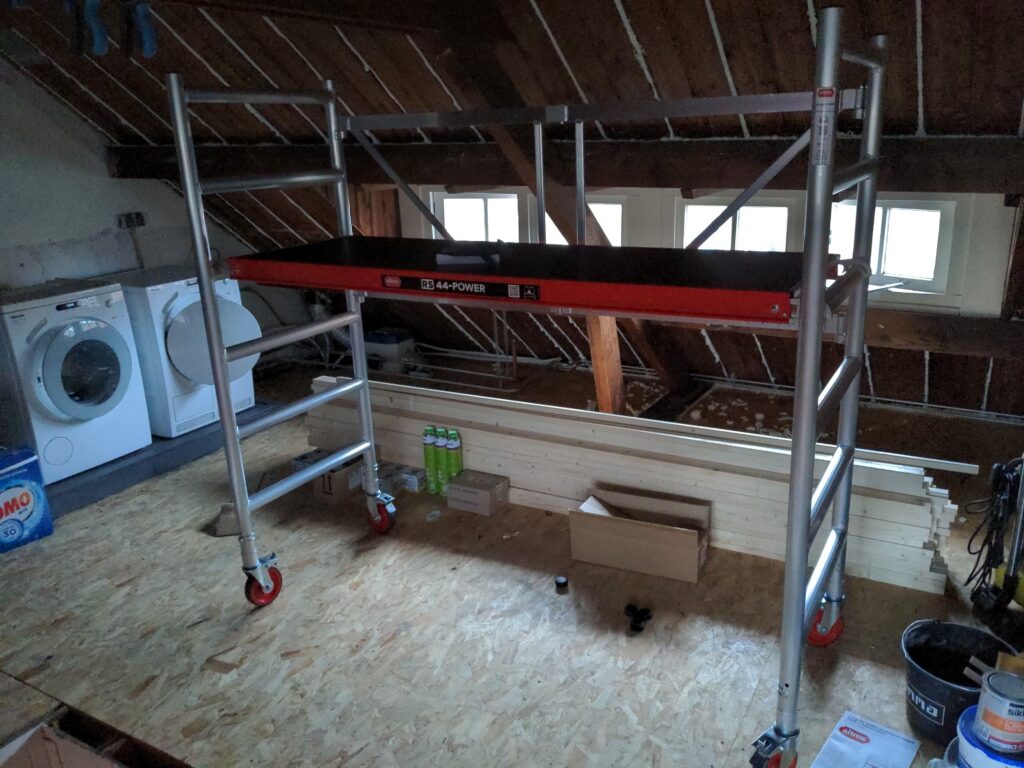
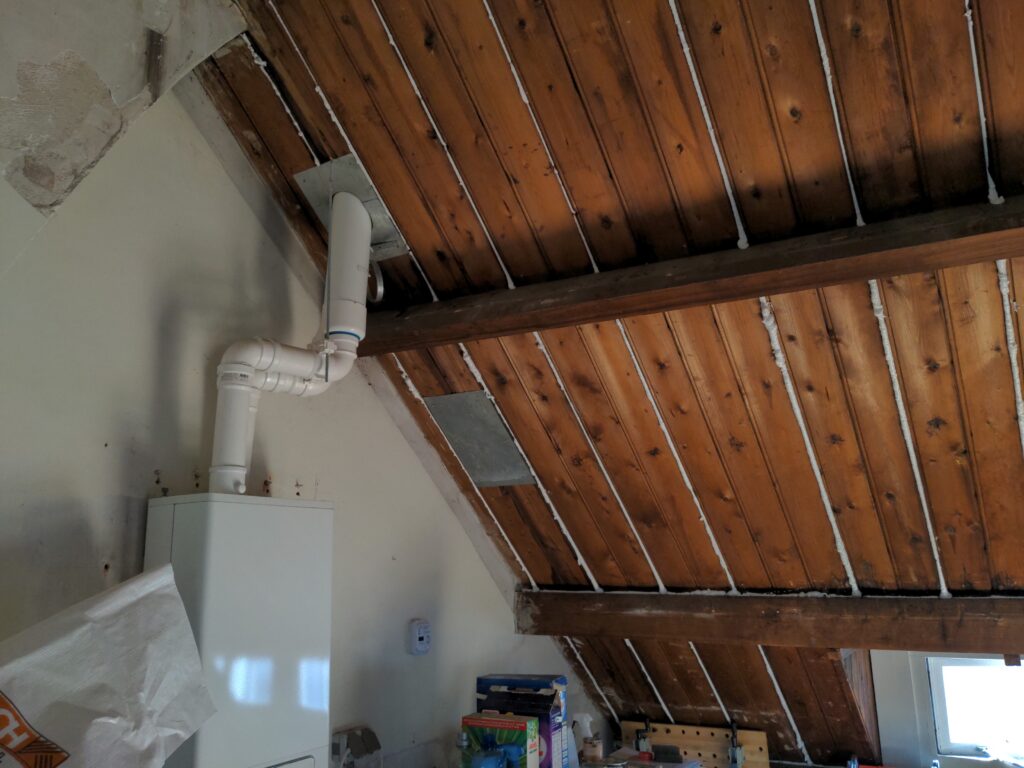
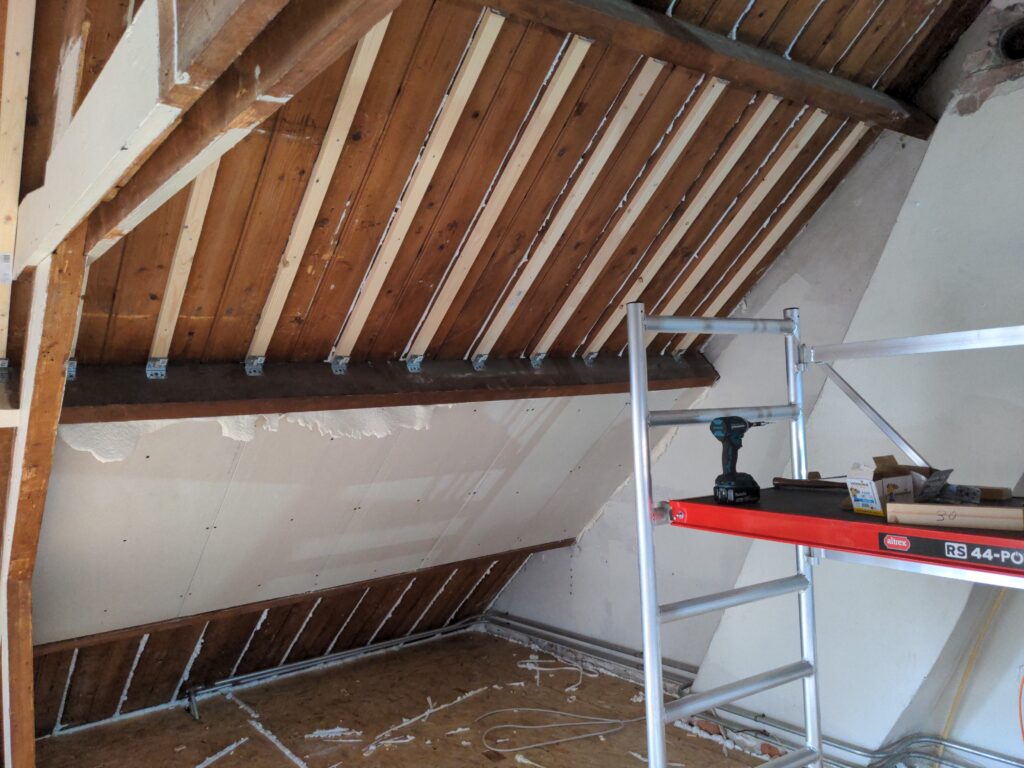
I bought a scaffold for the project and first filled al the cracks with the flexible polyurethane foam in preparation for the insulation. I really recommend buying a polyurethane gun instead of cheaping out on the plastic throwaway attachments. This makes the work so much easier as I realised later in the project.
Together with my uncle we calculated how much insulation screws, L-brackets and wood we needed to fix the whole roof! This was everything we needed:
| Material/services | Costs |
| 1x Stanley knife | € 4,95 |
| 5x Flexible Polyurethane foam | € 61,52 |
| 6x Plastic spray Nozzle (don’t buy these) | € 3,48 |
| 1x Polyurethane set (gun cleaner and normal polyurethane foam) | € 67,99 |
| 1x screwdriver bit for plasterboard | € 4,95 |
| 3x Plasterboard screws 170MM (200) | € 234,33 |
| 2x Insulation with plasterboard (for sides of dormers RD 2.72) | € 99,82 |
| 2x Insulation without plasterboard (for roof of dormers RD 2.72) | € 205,94 |
| 34x Insulation with plasterboard (for the roof RD 5.45) | € 2.731,71 |
| 80x Vuren geschaafd 27×44 mm 300 cm FSC Mix 70% | € 500,46 |
| 3x Woodies Ultimate houtschroef verzinkt 4,0×45 mm torx | € 25,26 |
| 306 x GB Hoekanker verzinkt 40×60 mm / 60×2,0 mm | € 222,16 |
| 5x Woodies Ultimate houtschroef verzinkt 4,0×35 mm torx | € 29,28 |
| 1x Altrex RS 4400-Power Vouwsteiger basismaat 0,75×1,8 | € 365,42 |
| Shipping of all orders combined | € 103,00 |
| Total costs: | € 4660,27 |
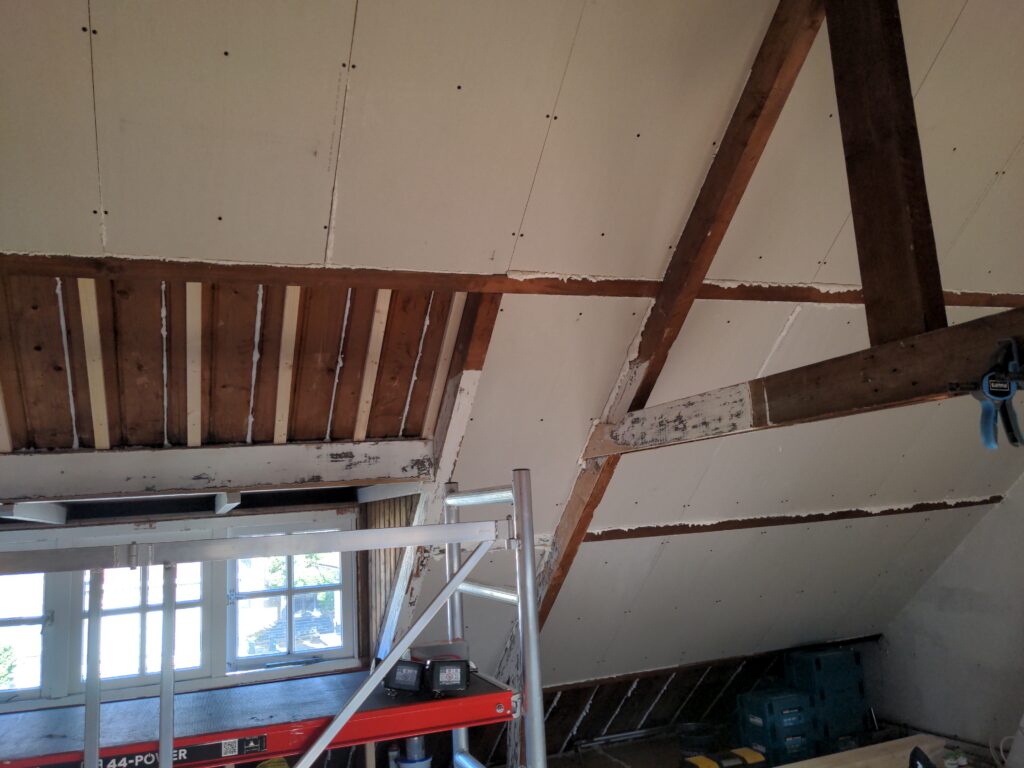
Of course the list above does not include the materials to finish and decorate the roof. I will update this post, or create a separate post about decorating and finishing the room. We started with the easiest section of the roof, between two straight beams. The wood and L-brackets add structural strength to the roof and create a space between the actual roof and the insulation. If moisture were ever to penetrate the roof it has a chance to dry thanks to the space between the roof and insulation, thus preventing wood rot.
Since the PIR insulation boards are 60 CM wide, the wood is spaced apart 30 cm from core to core. This gives you an easy way to plan out the the structure and creates attachment points for the PIR insulation boards. The PIR insulation has to be cut in such a way (with a regular saw) that there is a small gap at the top and bottom between the insulation and the structural wooden beam (you can use wood scraps as spacers). You fill this gap with polyurethane foam once an entire row is placed to create an airtight seal. You also use foam between the PIR insulation boards to create an airtight seal when adding another board to a row.