
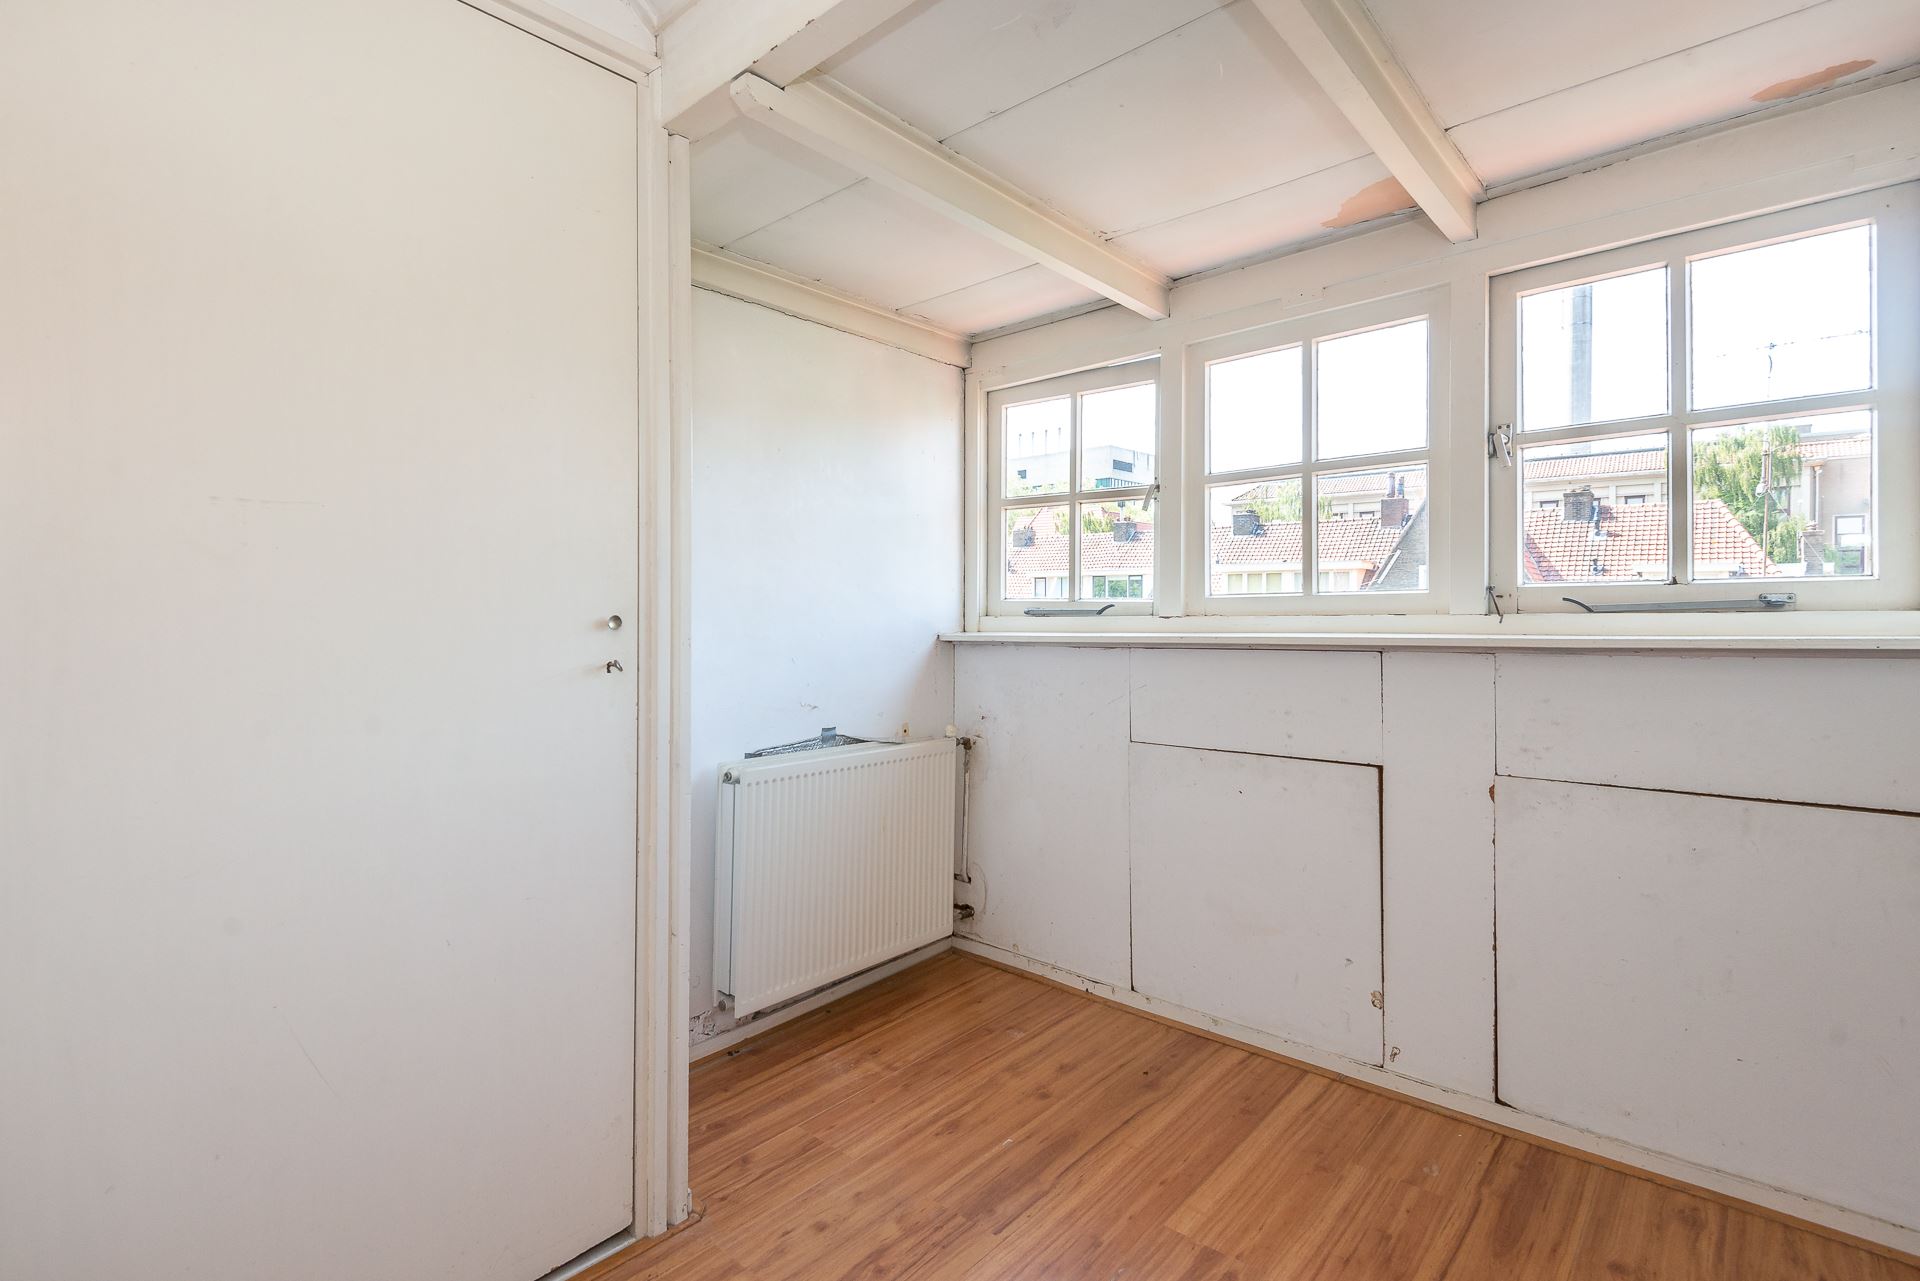
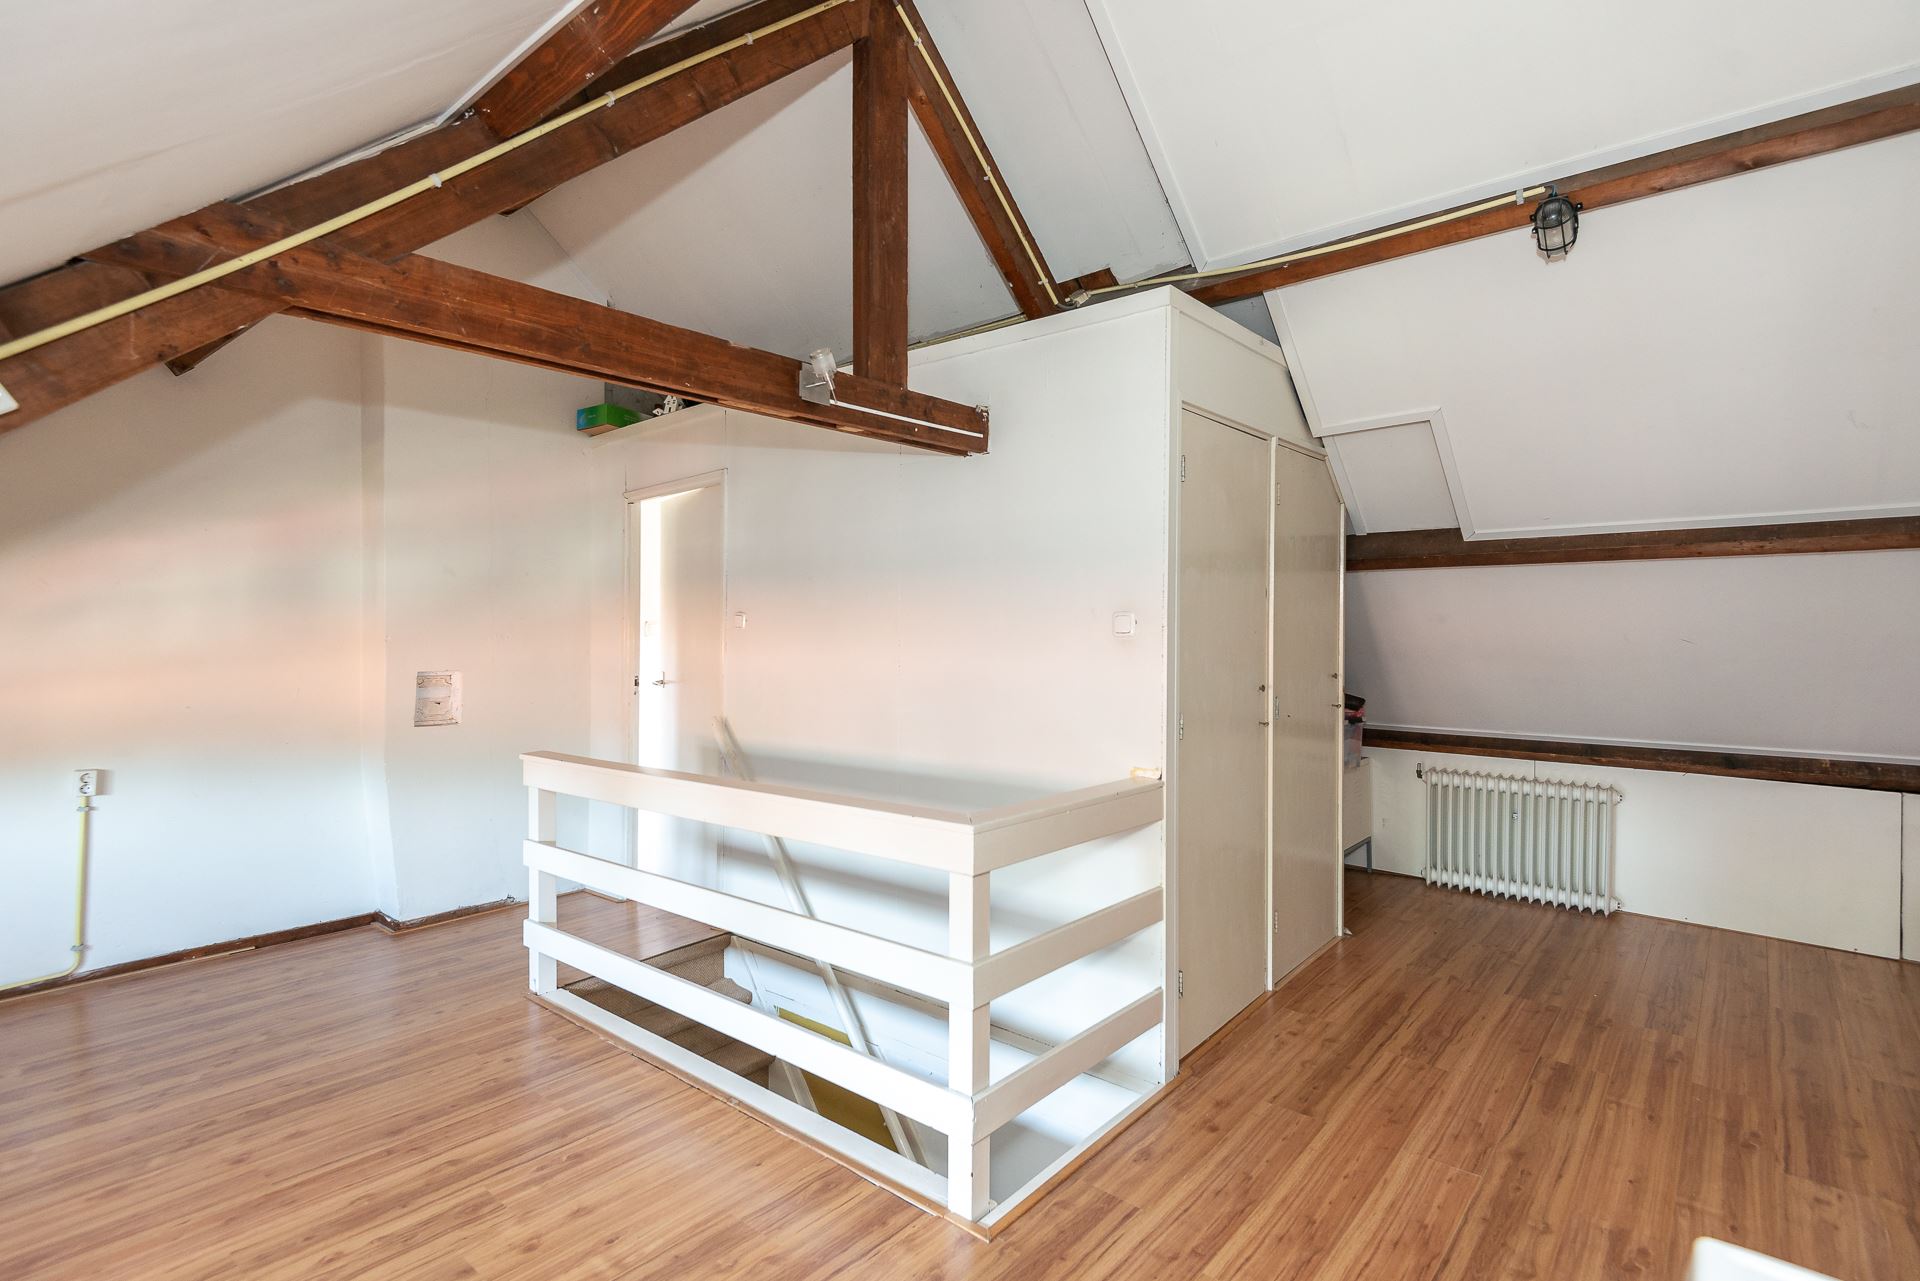
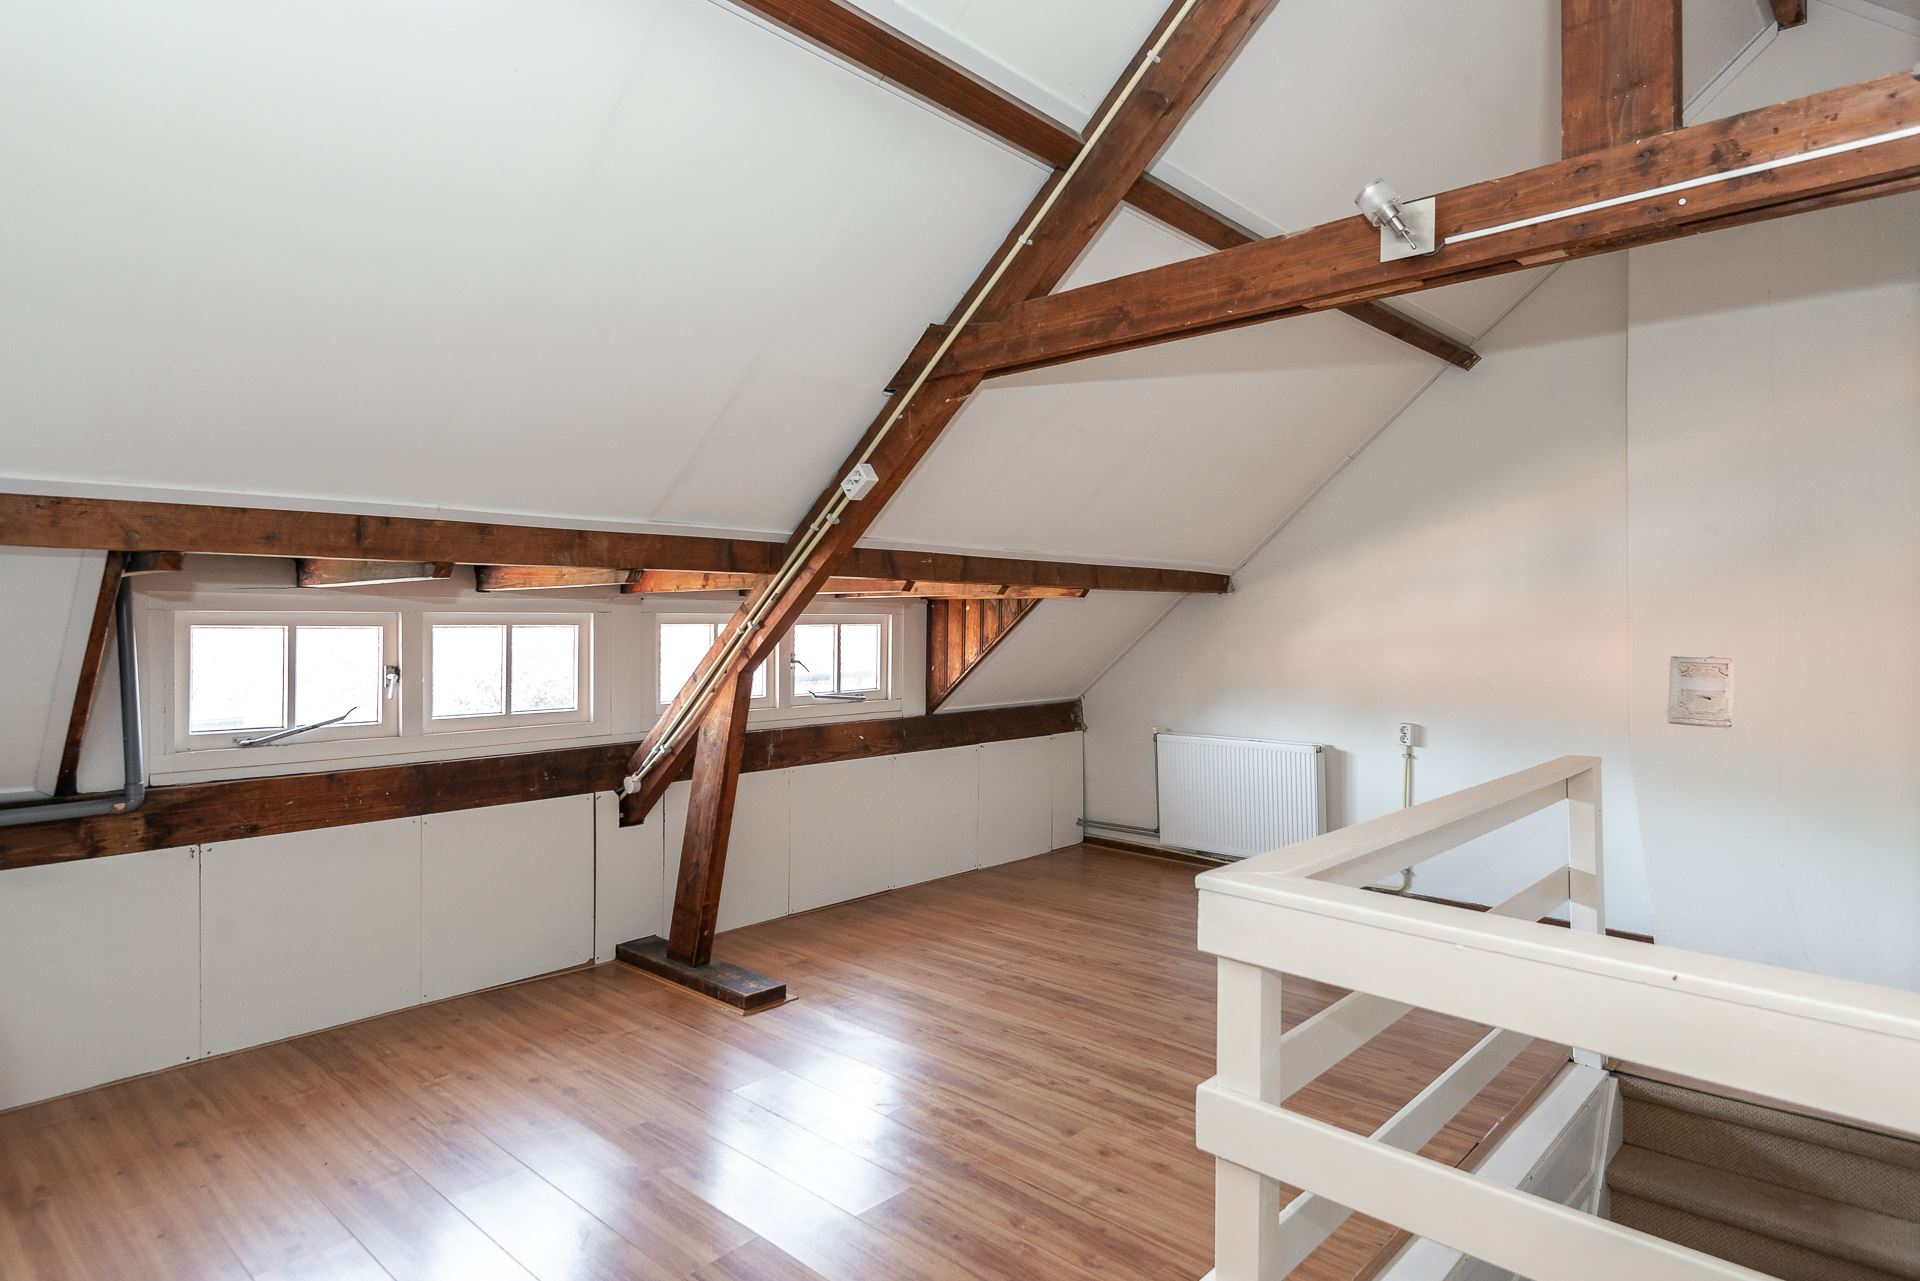
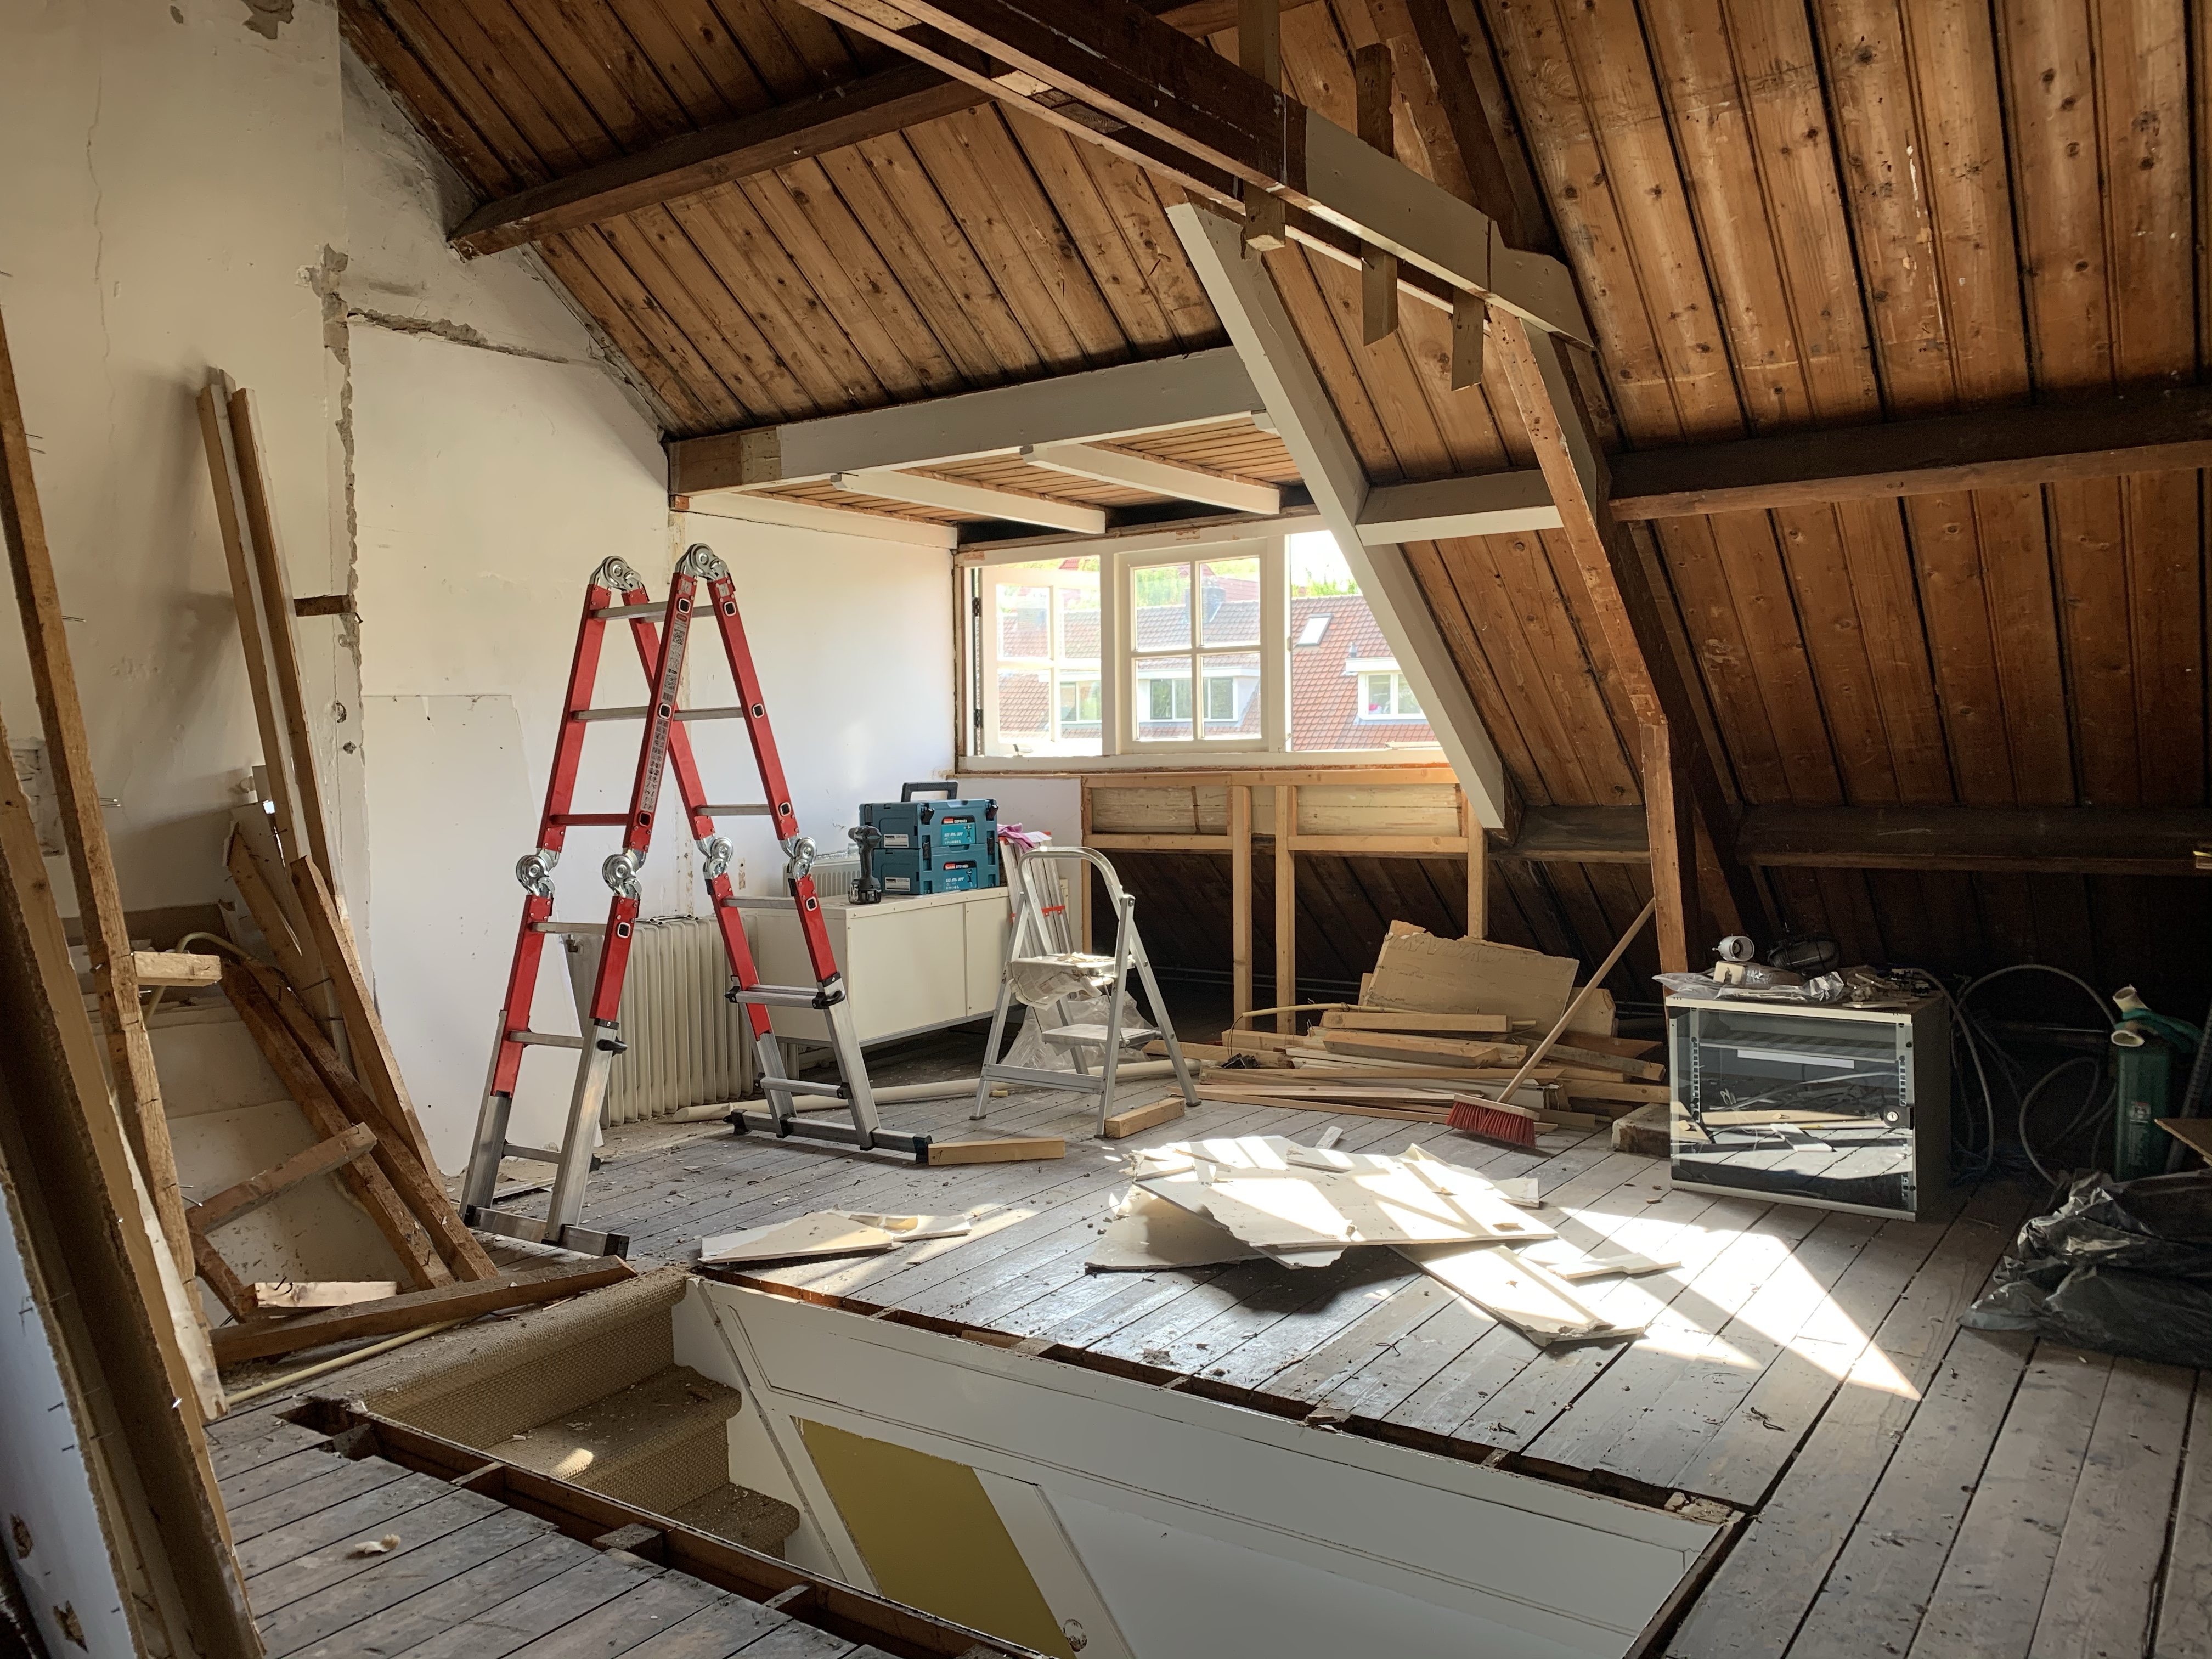
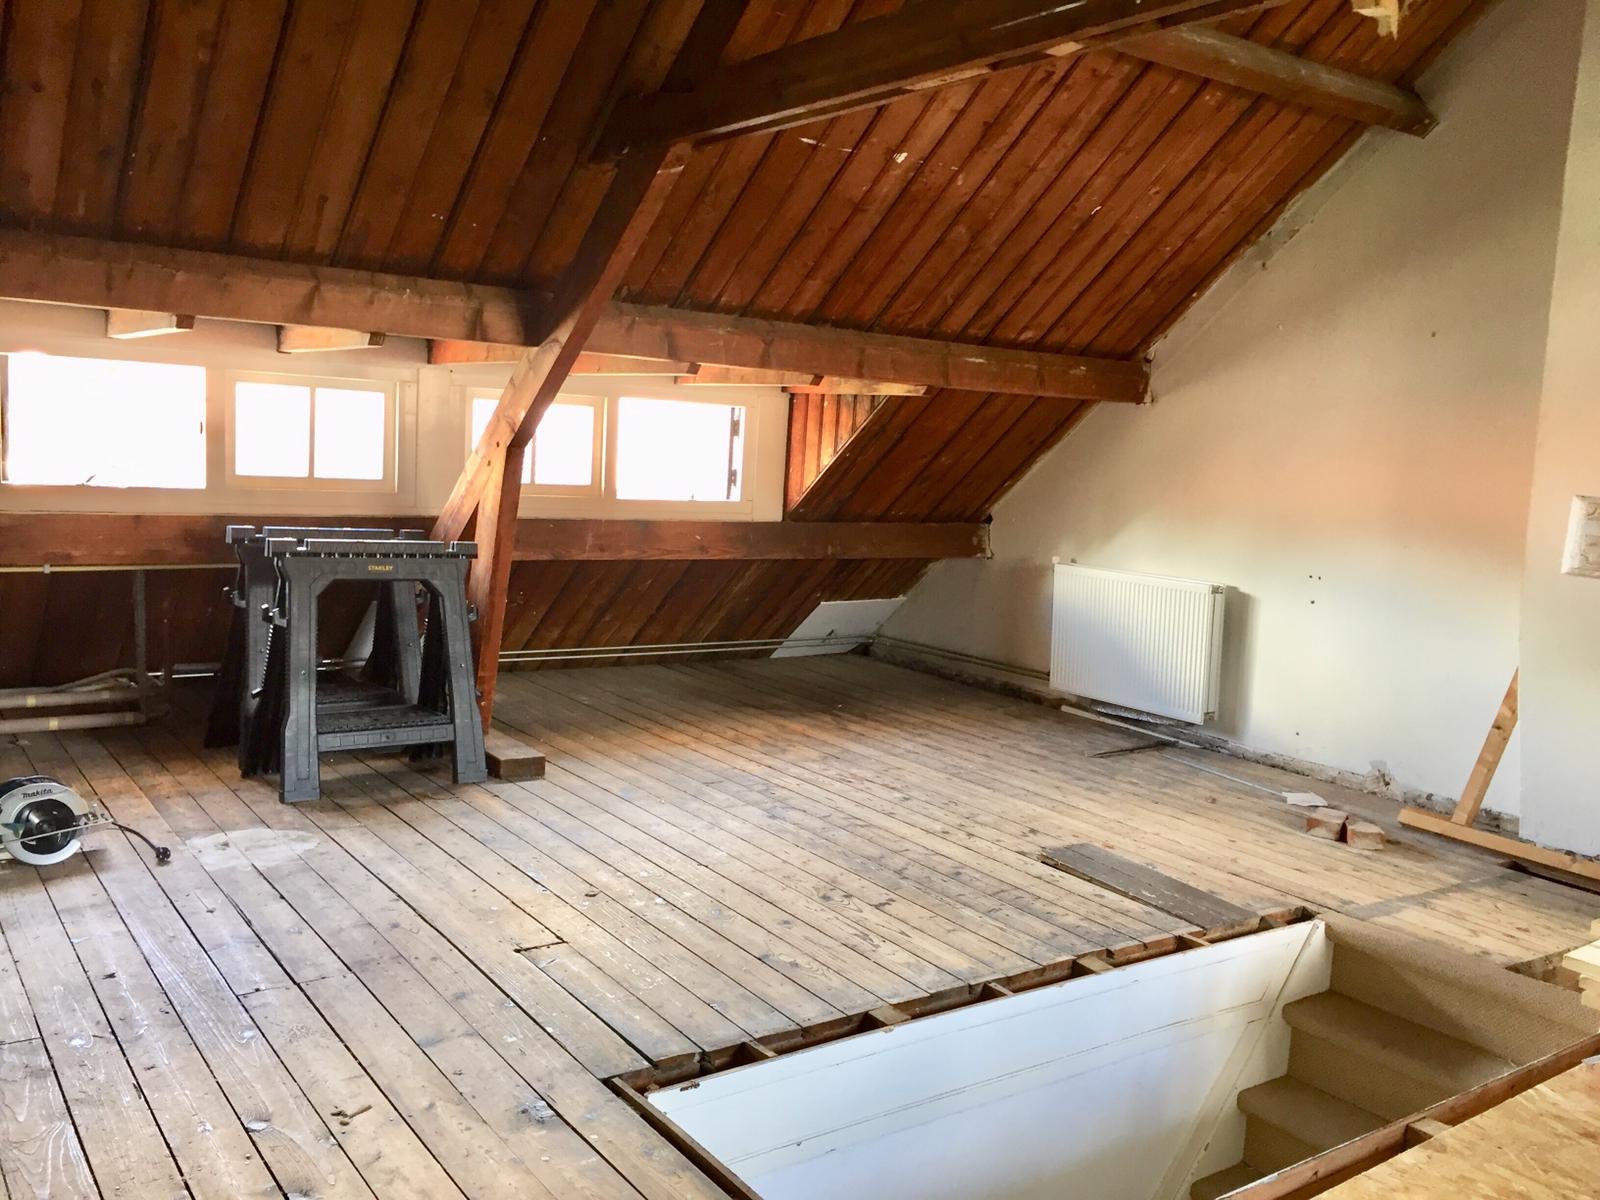
The first big project we wanted to tackle was the attic. This room is supposed to become the utility room and my home office. It was barely insulated and badly maintained. This is what it looked like when we bought the house:

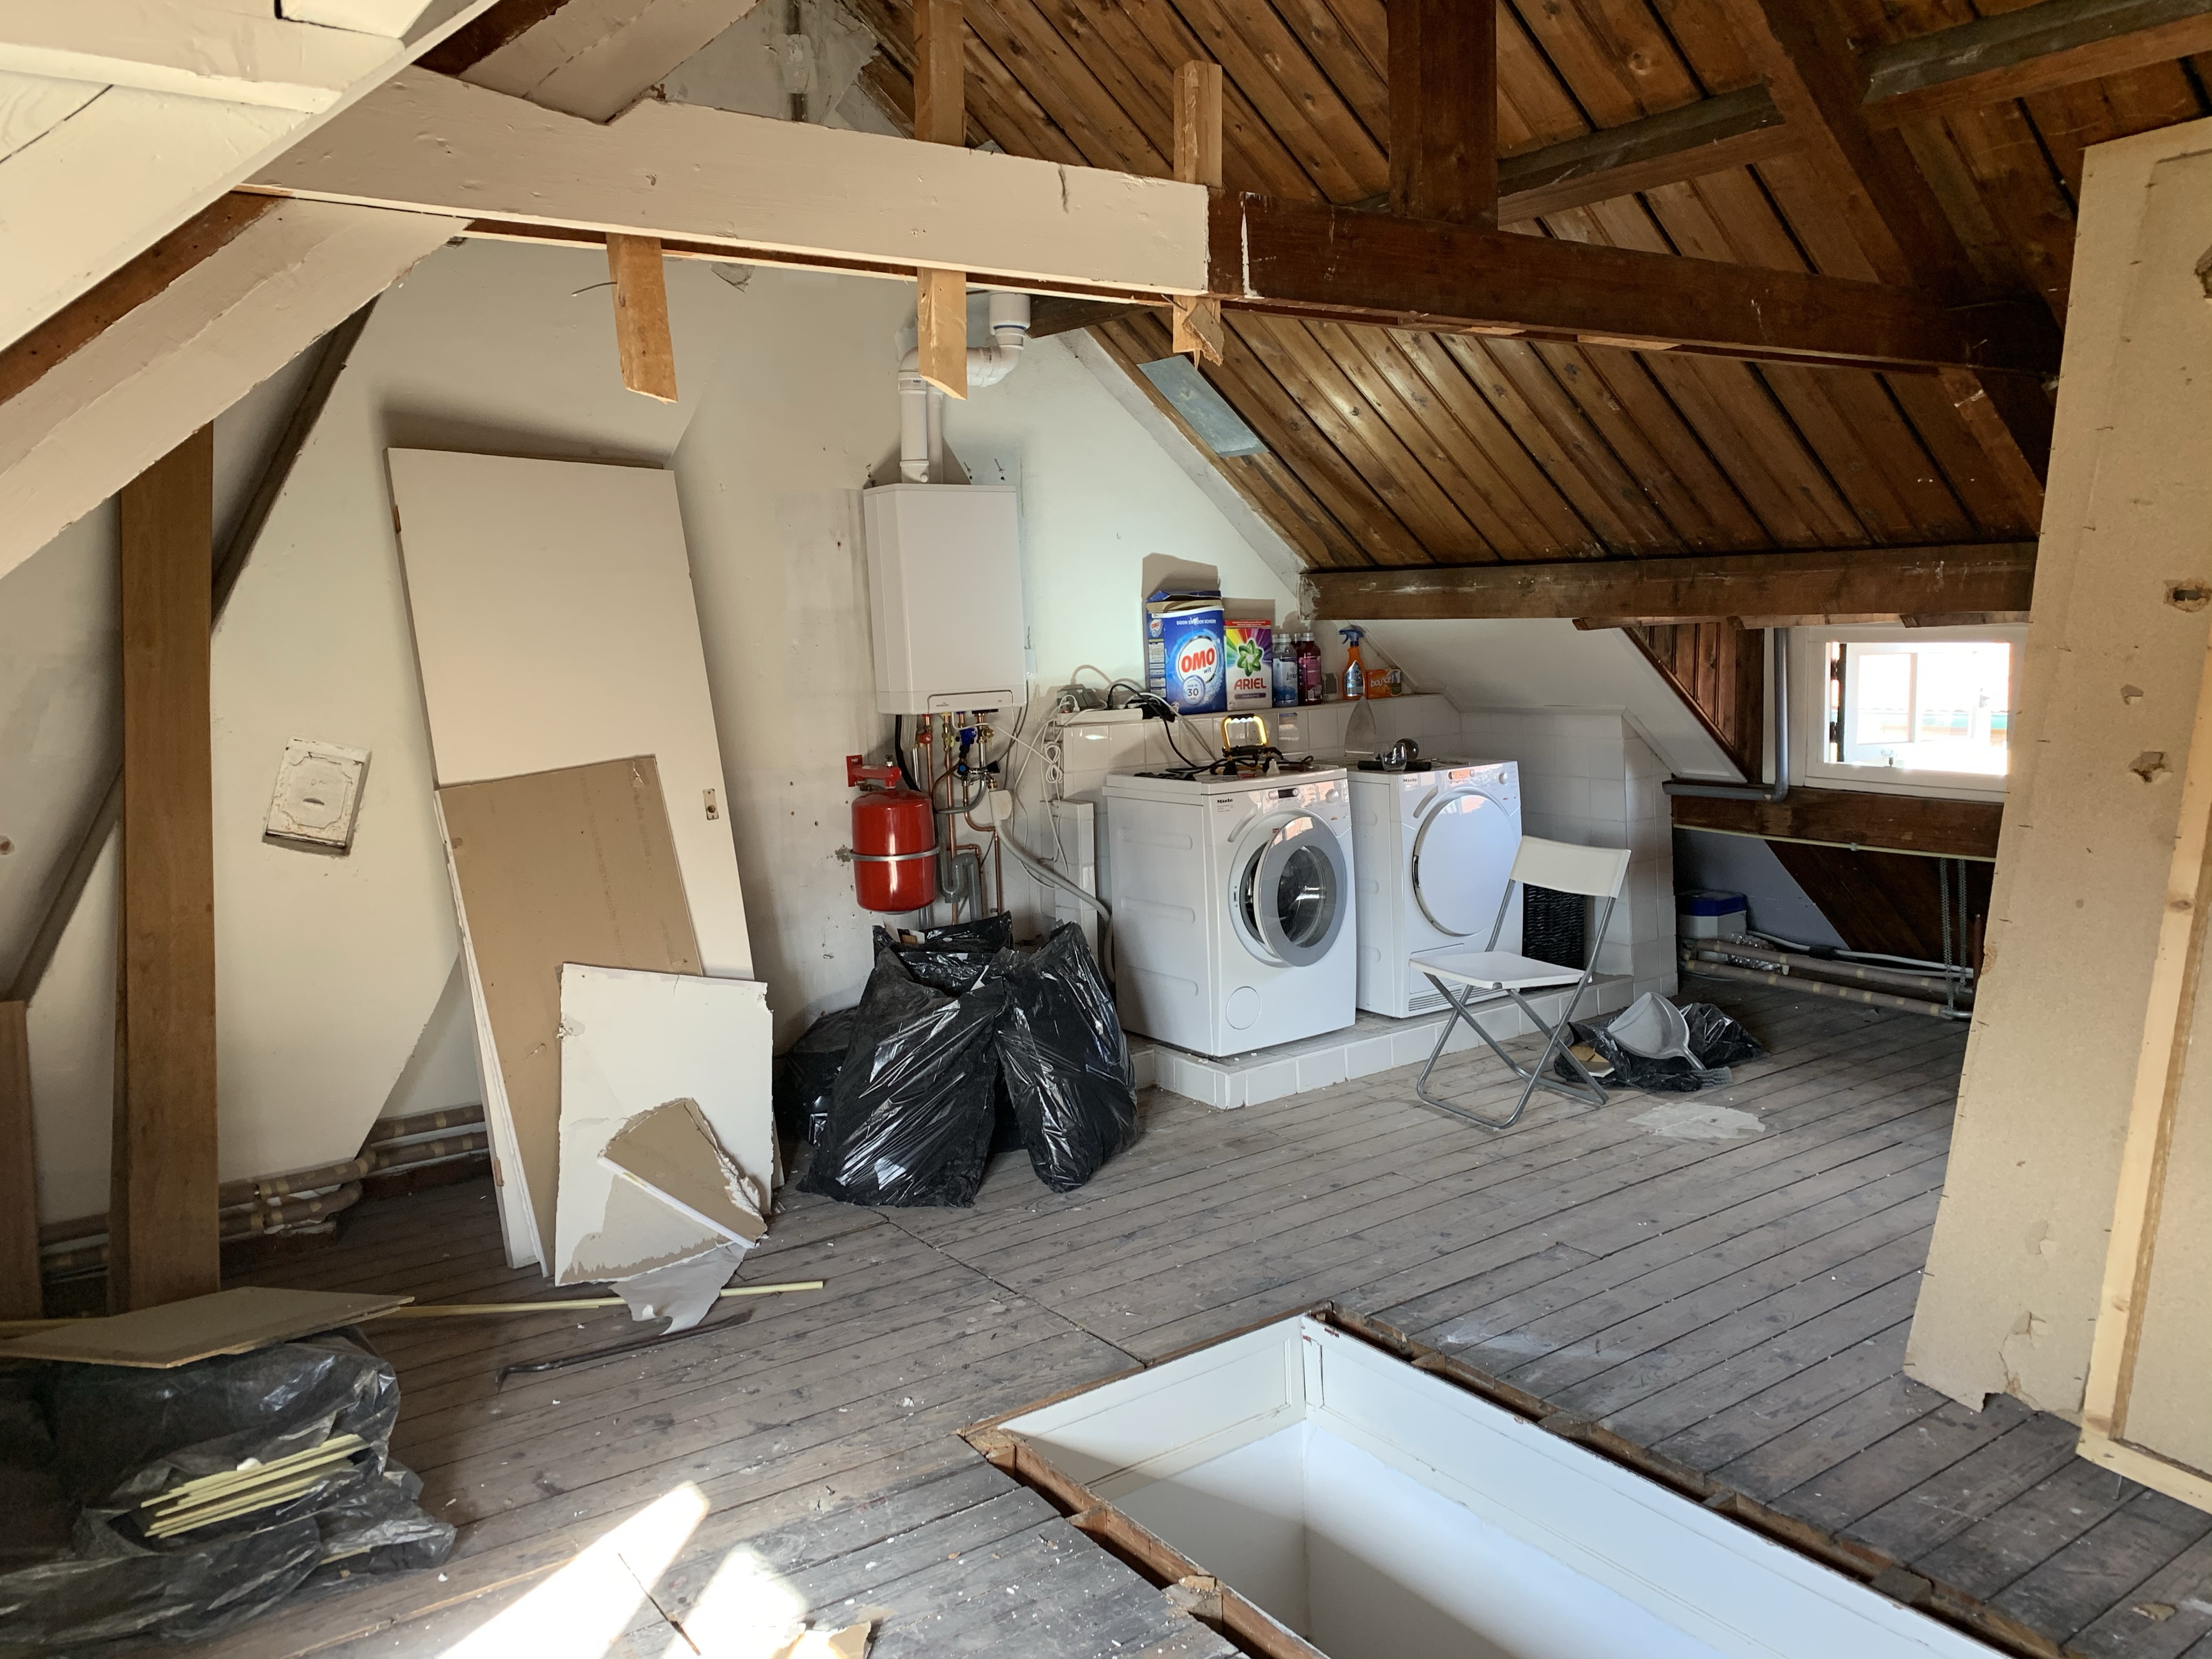
The room housed a very old boiler and since going full electric with a heat pump is not within our budget and very difficult to get right for a house this age we decided to replace the boiler first. When the house is properly insulated and sealed we will reconsider a heat pump if it’s financially viable.
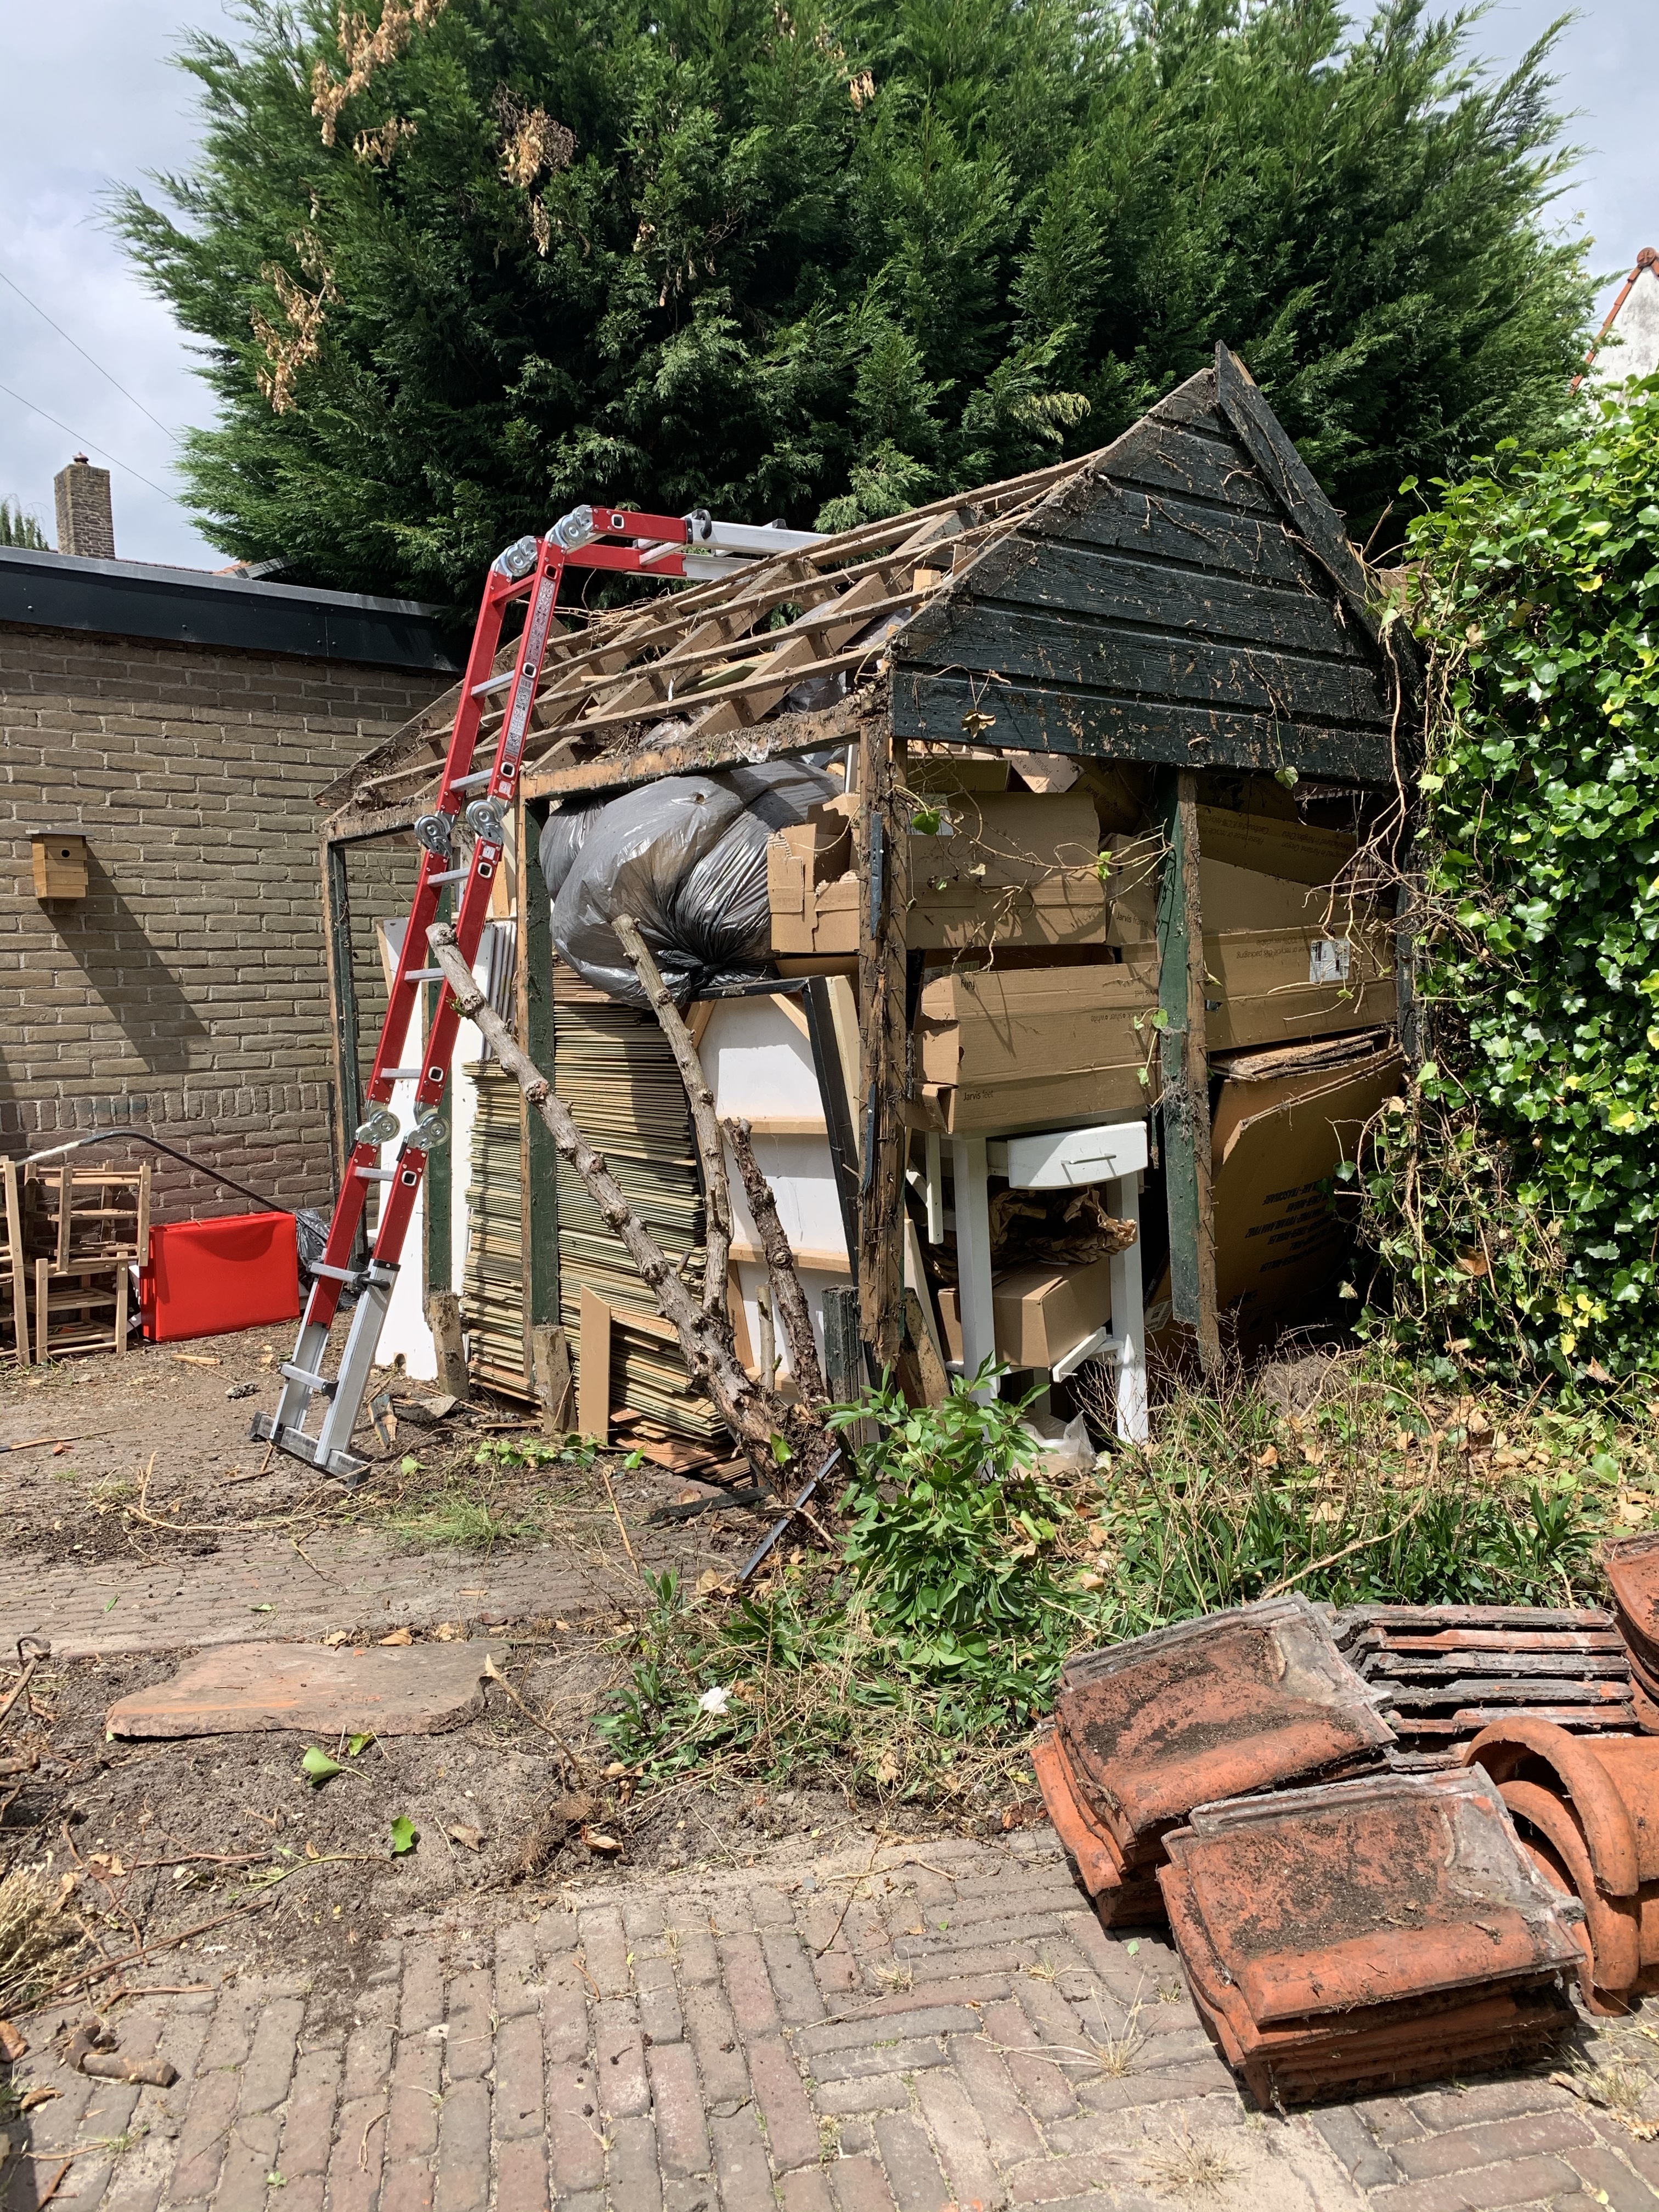
After getting the boiler replaced we stripped the room to it’s bear bones. I love to get to know a house like this and learn how it’s built. We also took down the original shed that came with the house, after 90 years of service it has had its best time. The total amount of waste produced by stripping the attic and demolishing the shed was around 1800kg (not including the old attic floor, which was removed later).
After looking online for ways to level the floor I found this video (in Dutch). After showing it to my uncle, who told me he wanted to help out with the house, we decided to give it a try. We ordered everything we needed and planned to spend five days levelling the floor, rewiring everything in the floor and re-pouring the concrete slab the washing machine is on.
We started with removing the old floor and quickly found some traces of unwanted inhabitants. Fortunately they had long left and no one was hurt.
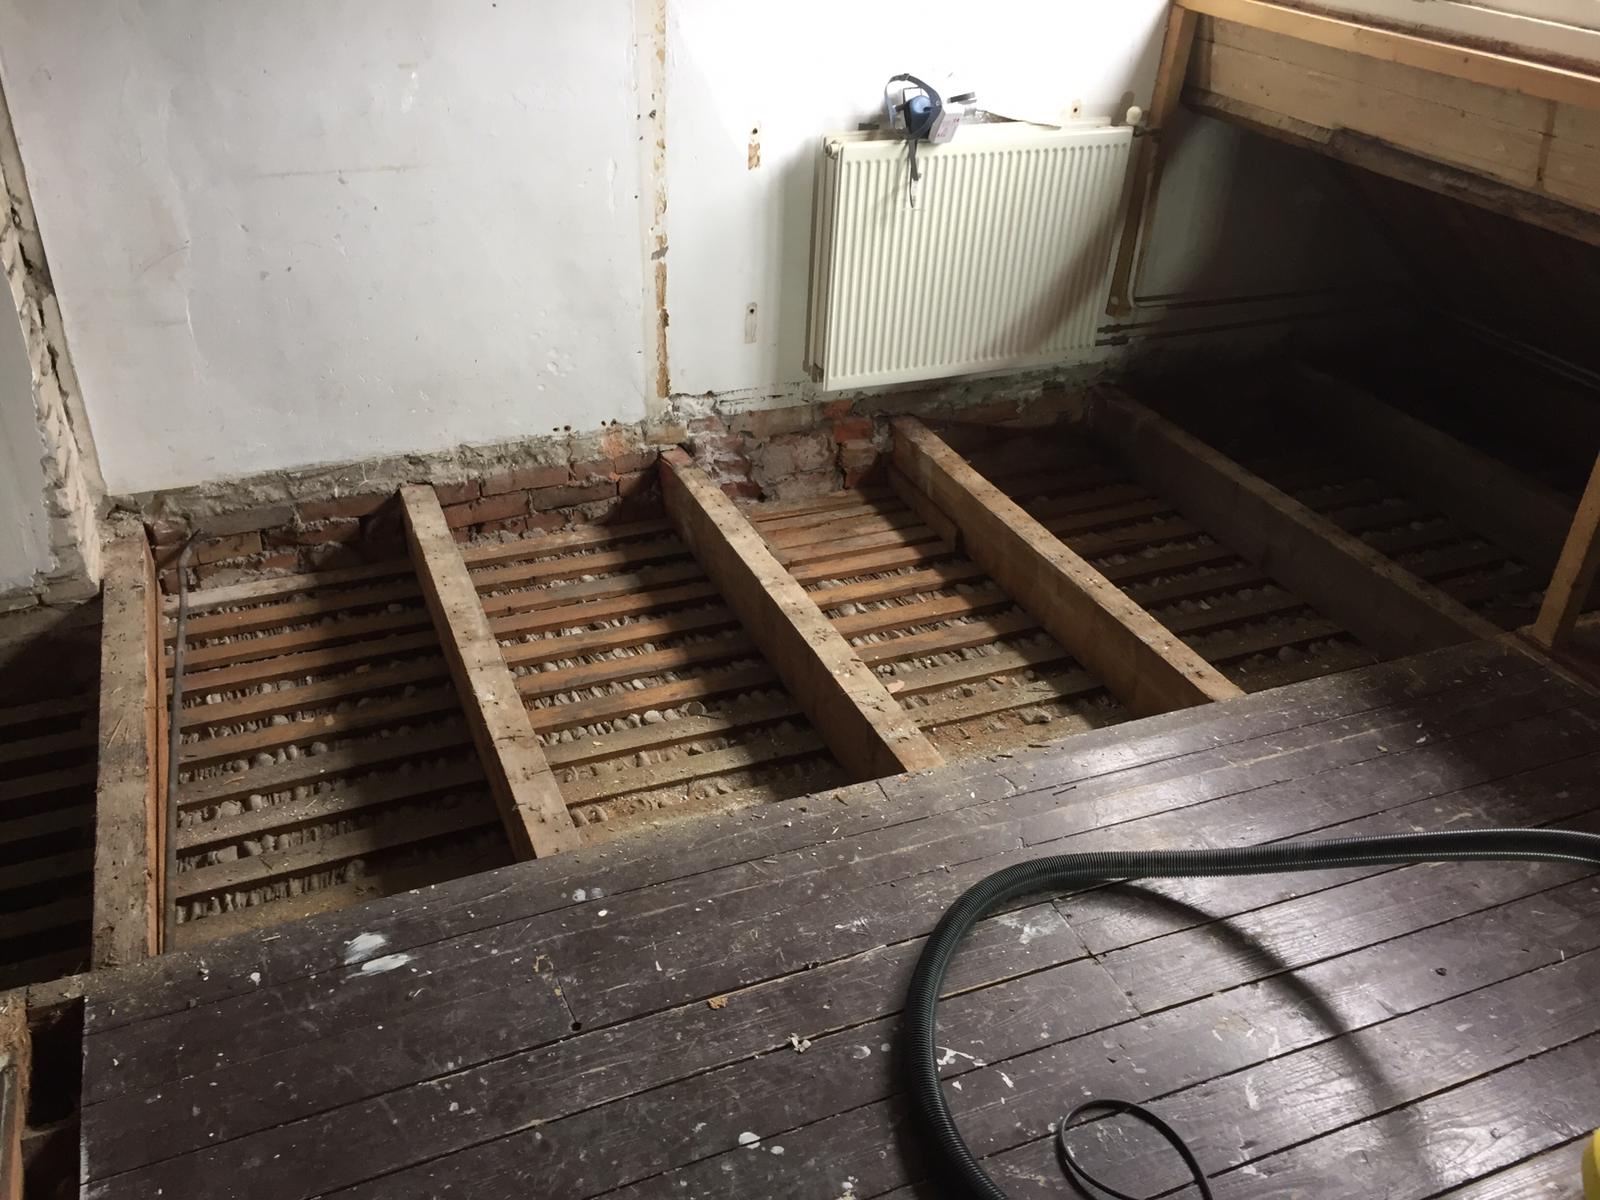

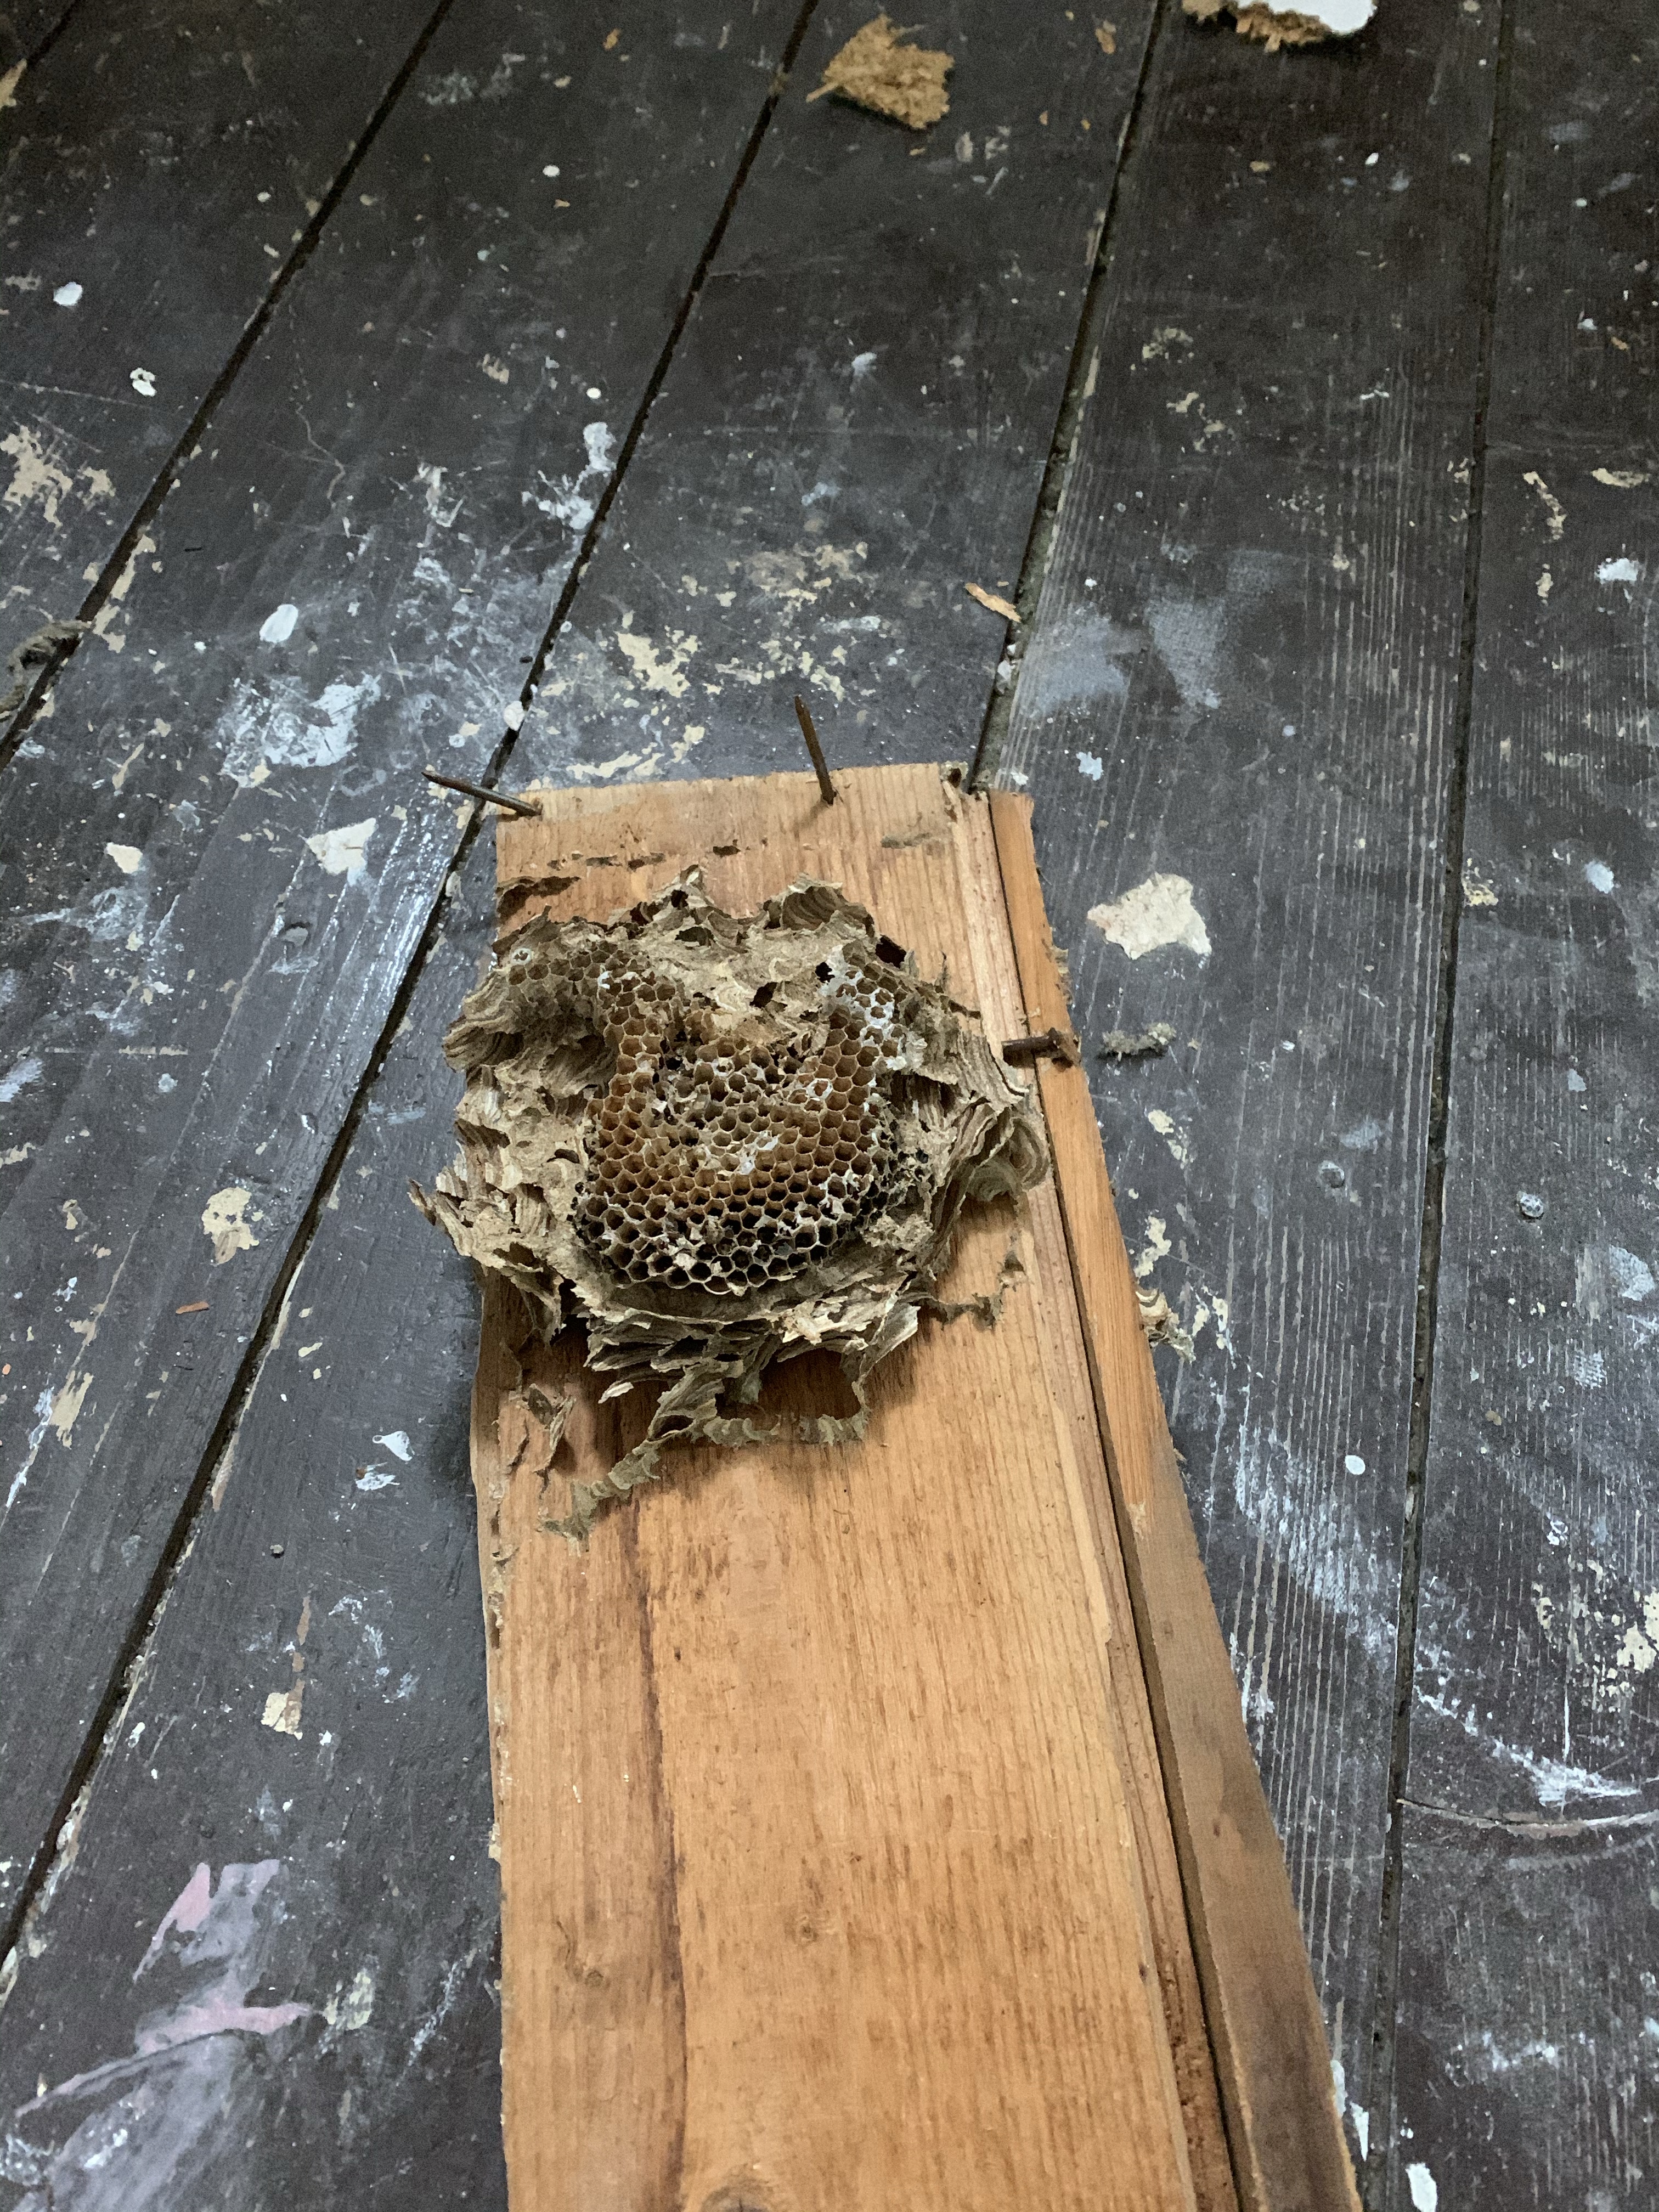
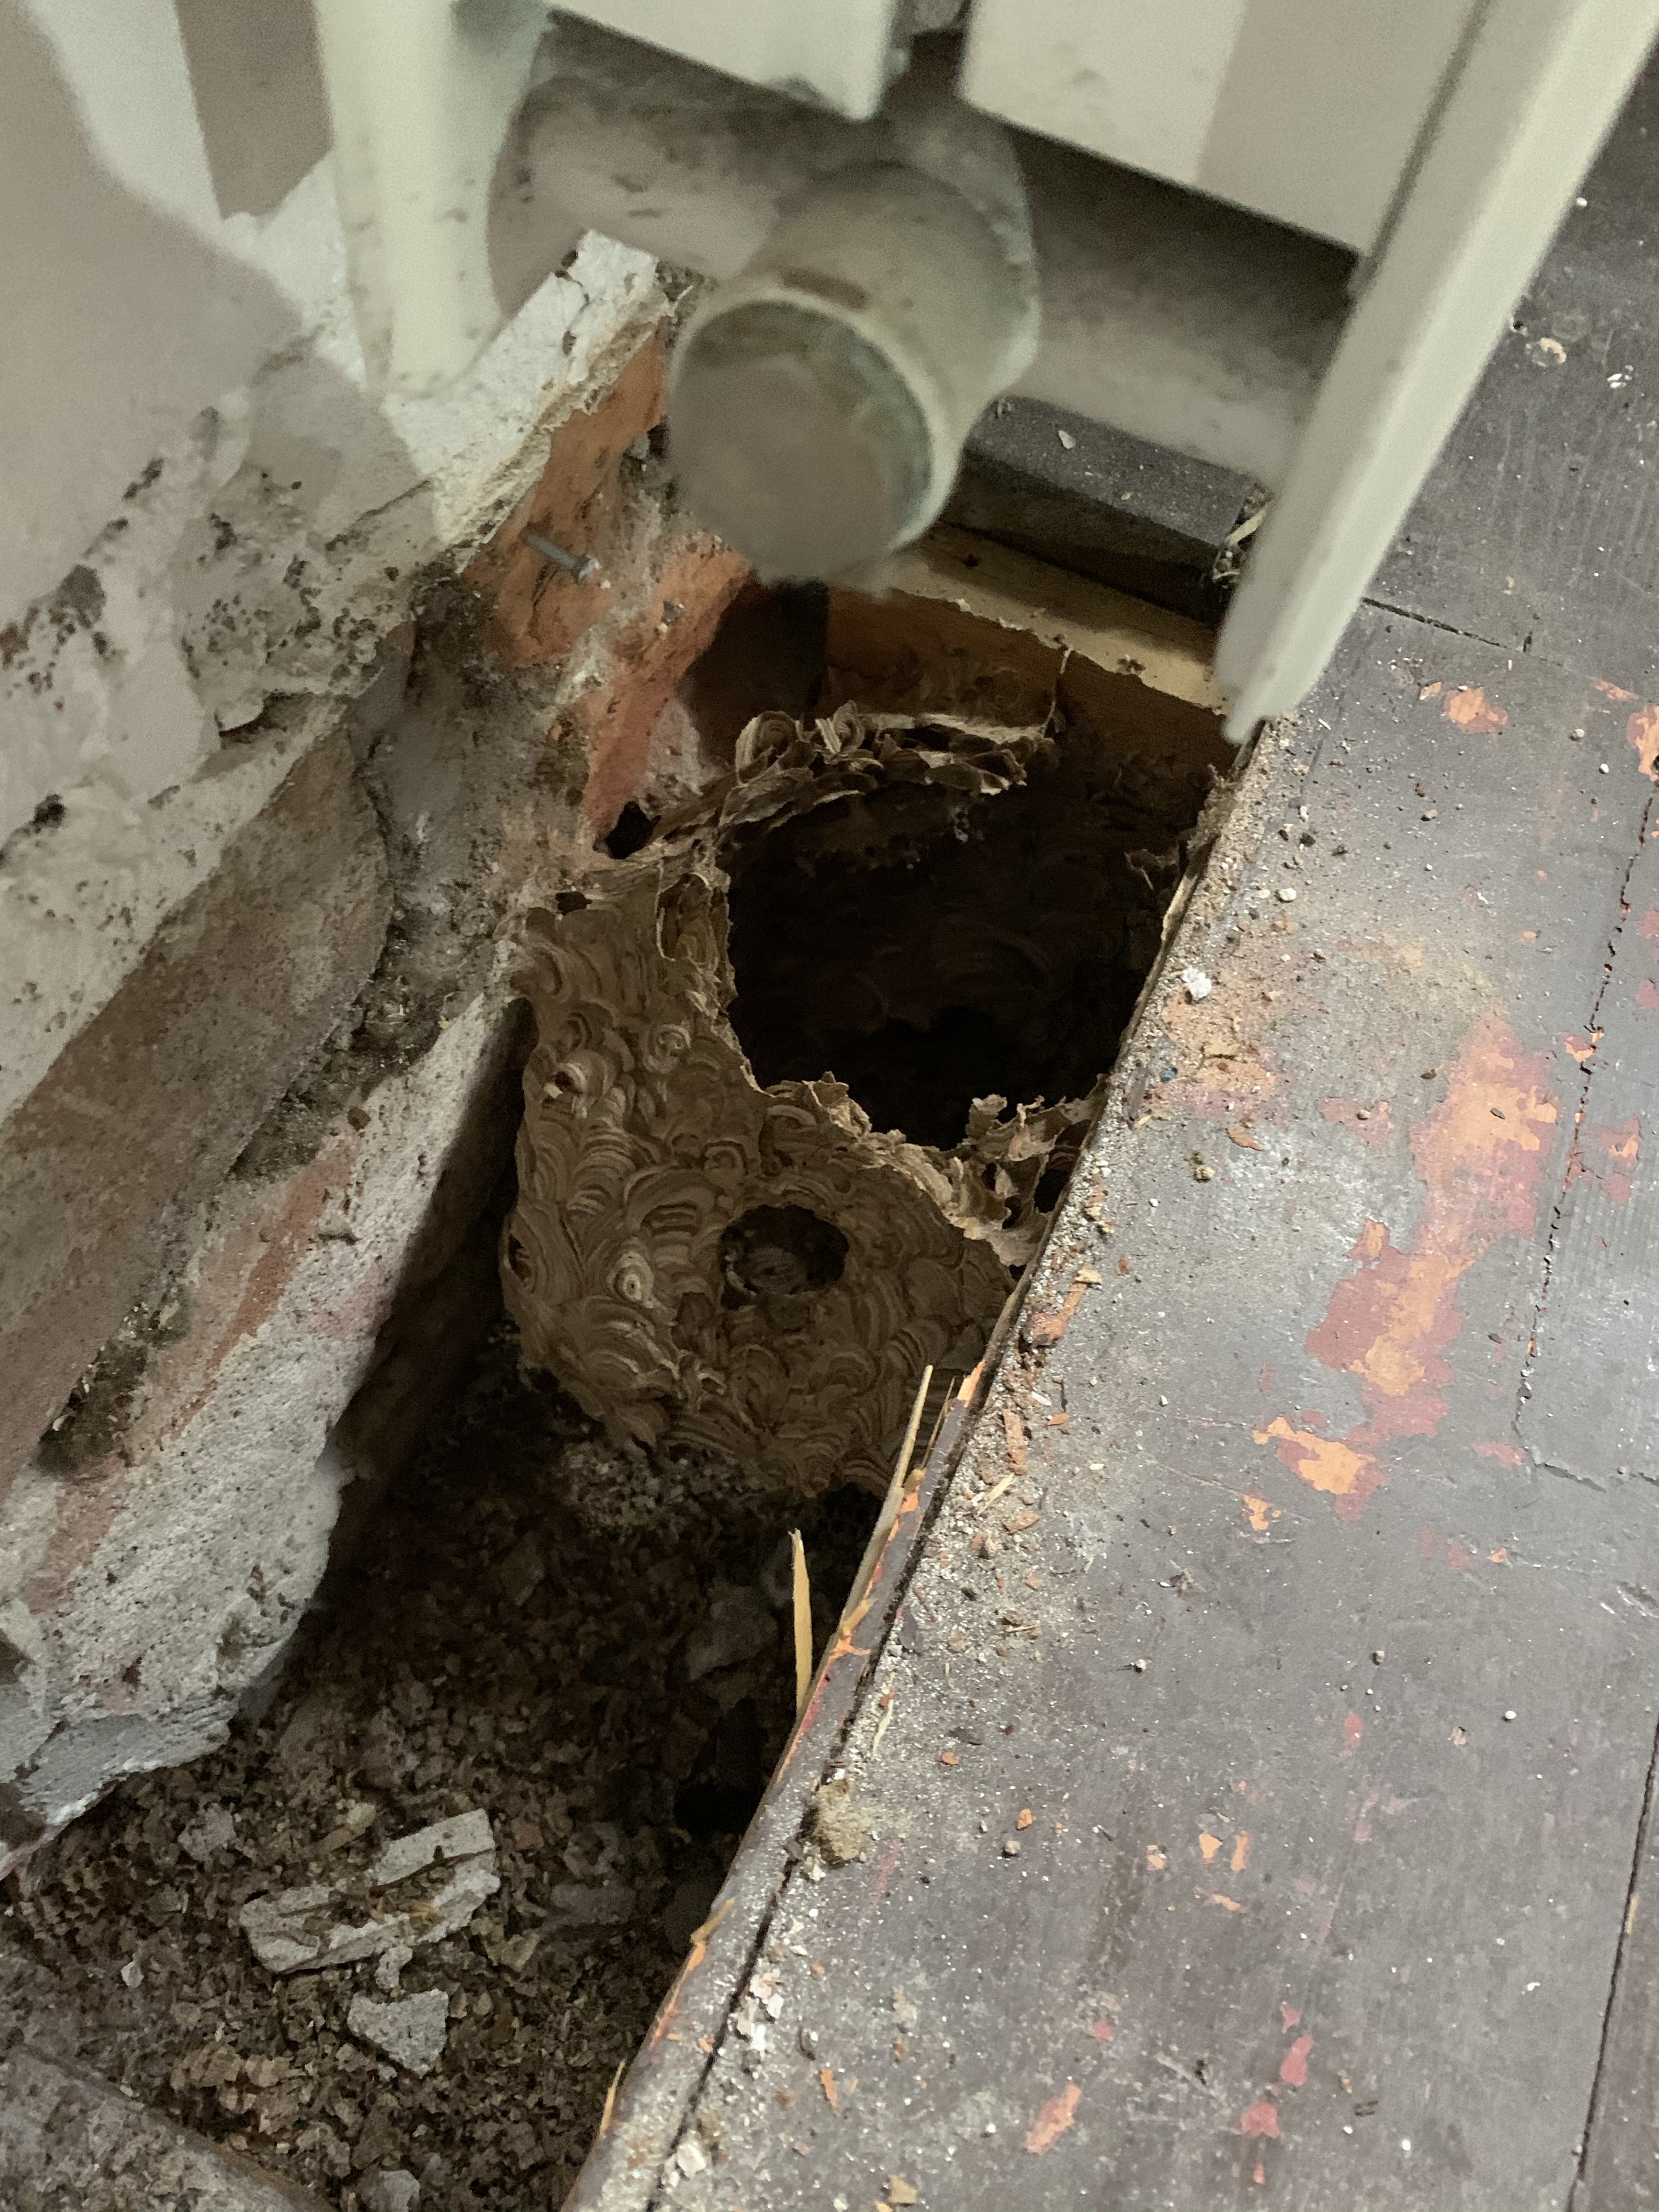
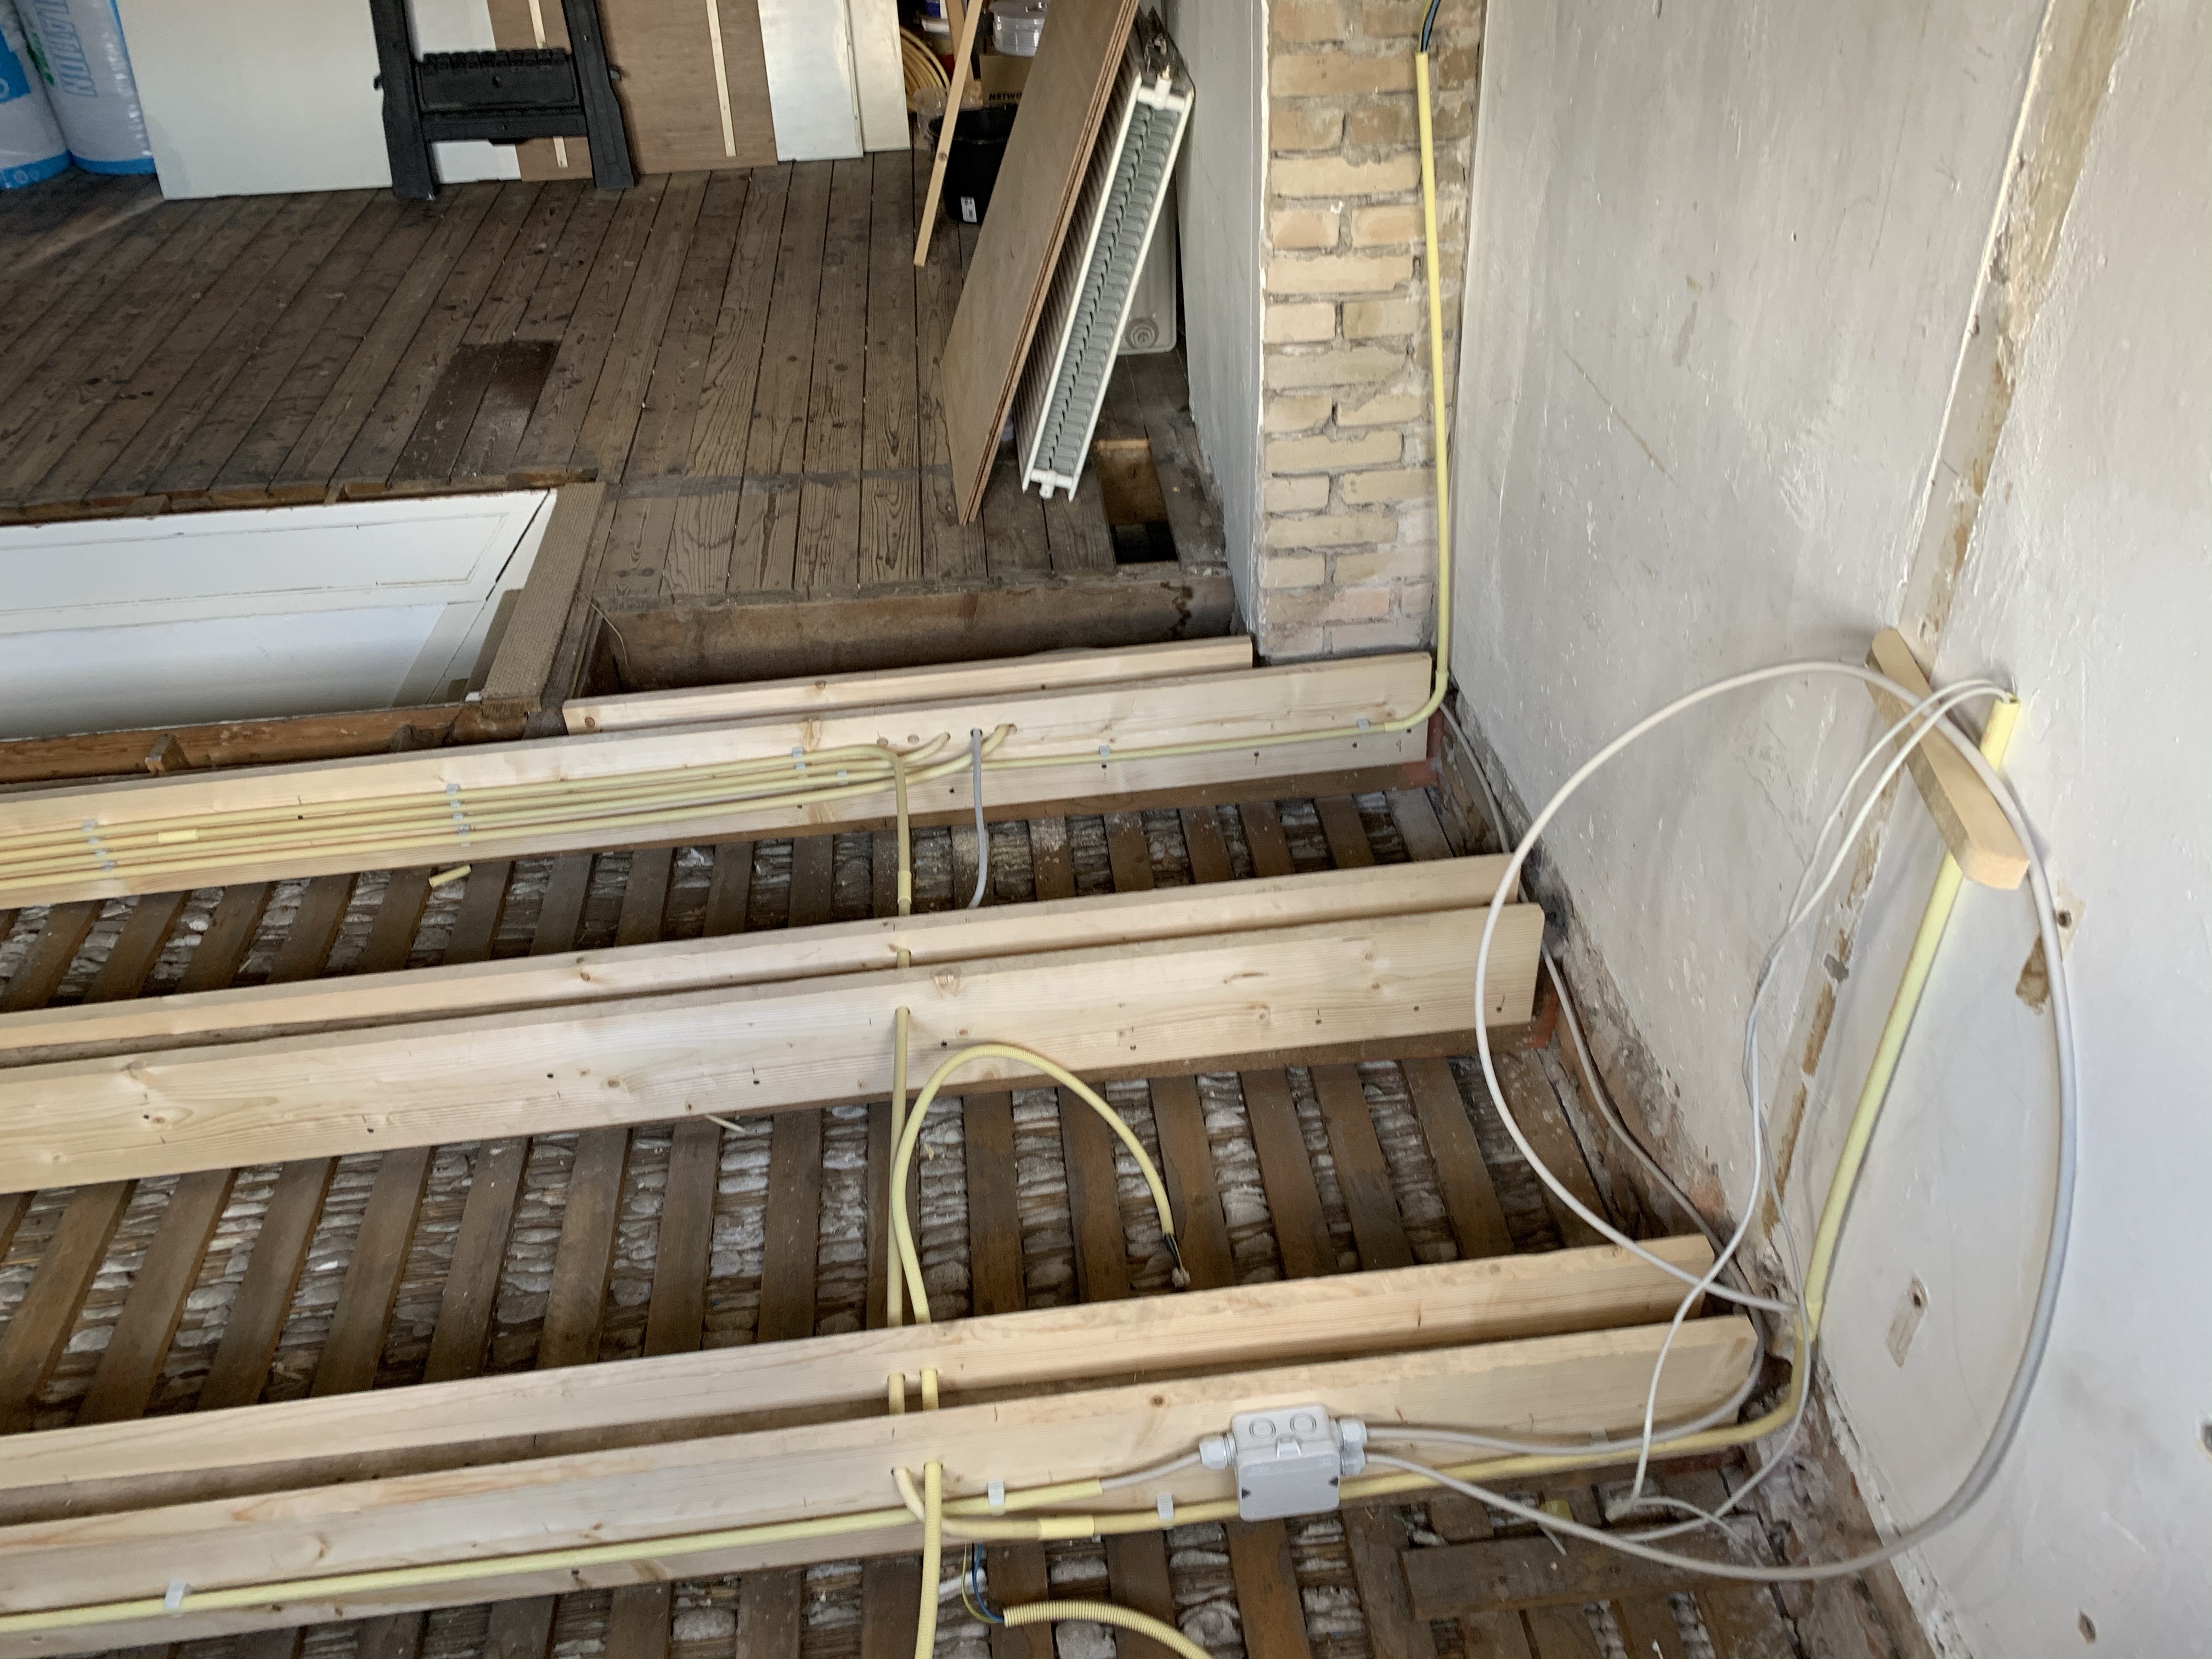
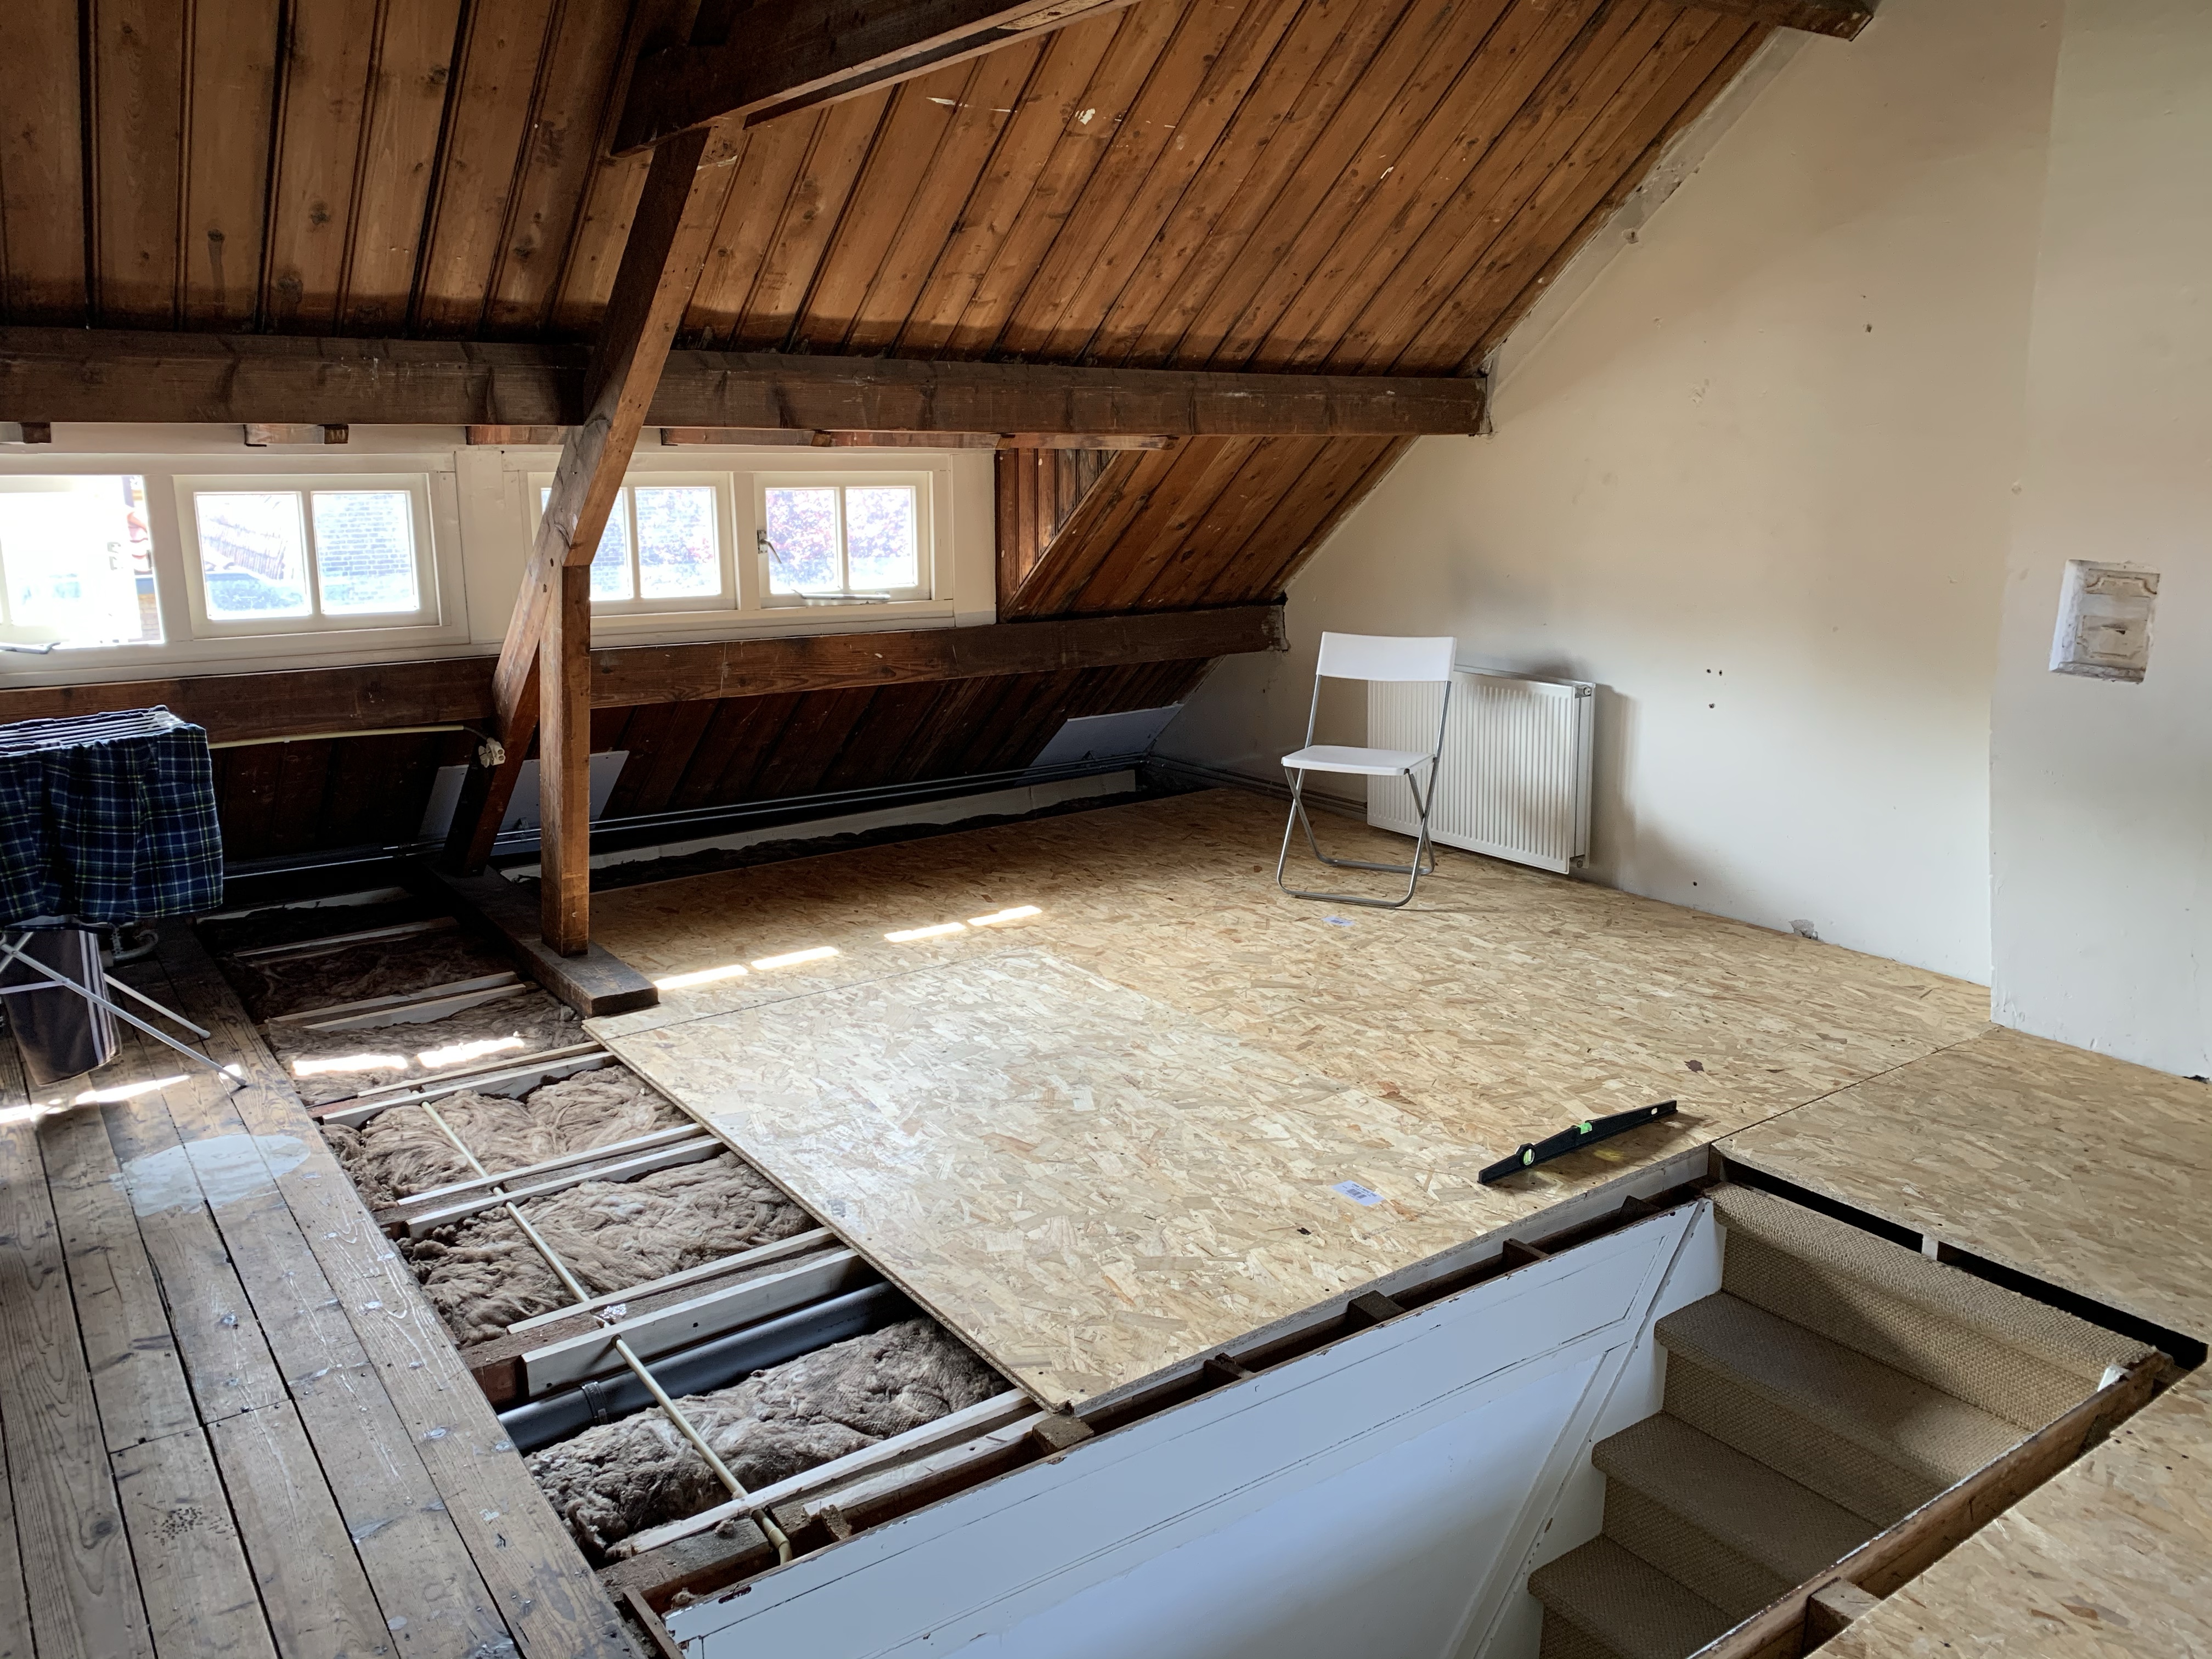
After removing the old floor, radiator and wasps nest we could finally start with placing spruce boards onto the original beams and levelling those so the new floor could be placed on top. Some rewiring was also done since the house still had steel pipes for all the wires, we replaced those with PVC pipes and added modern wires. We also prepped for some ceiling lights (on the first floor) to be placed at a later time and made sure network- and power cables were placed where my office is planned.
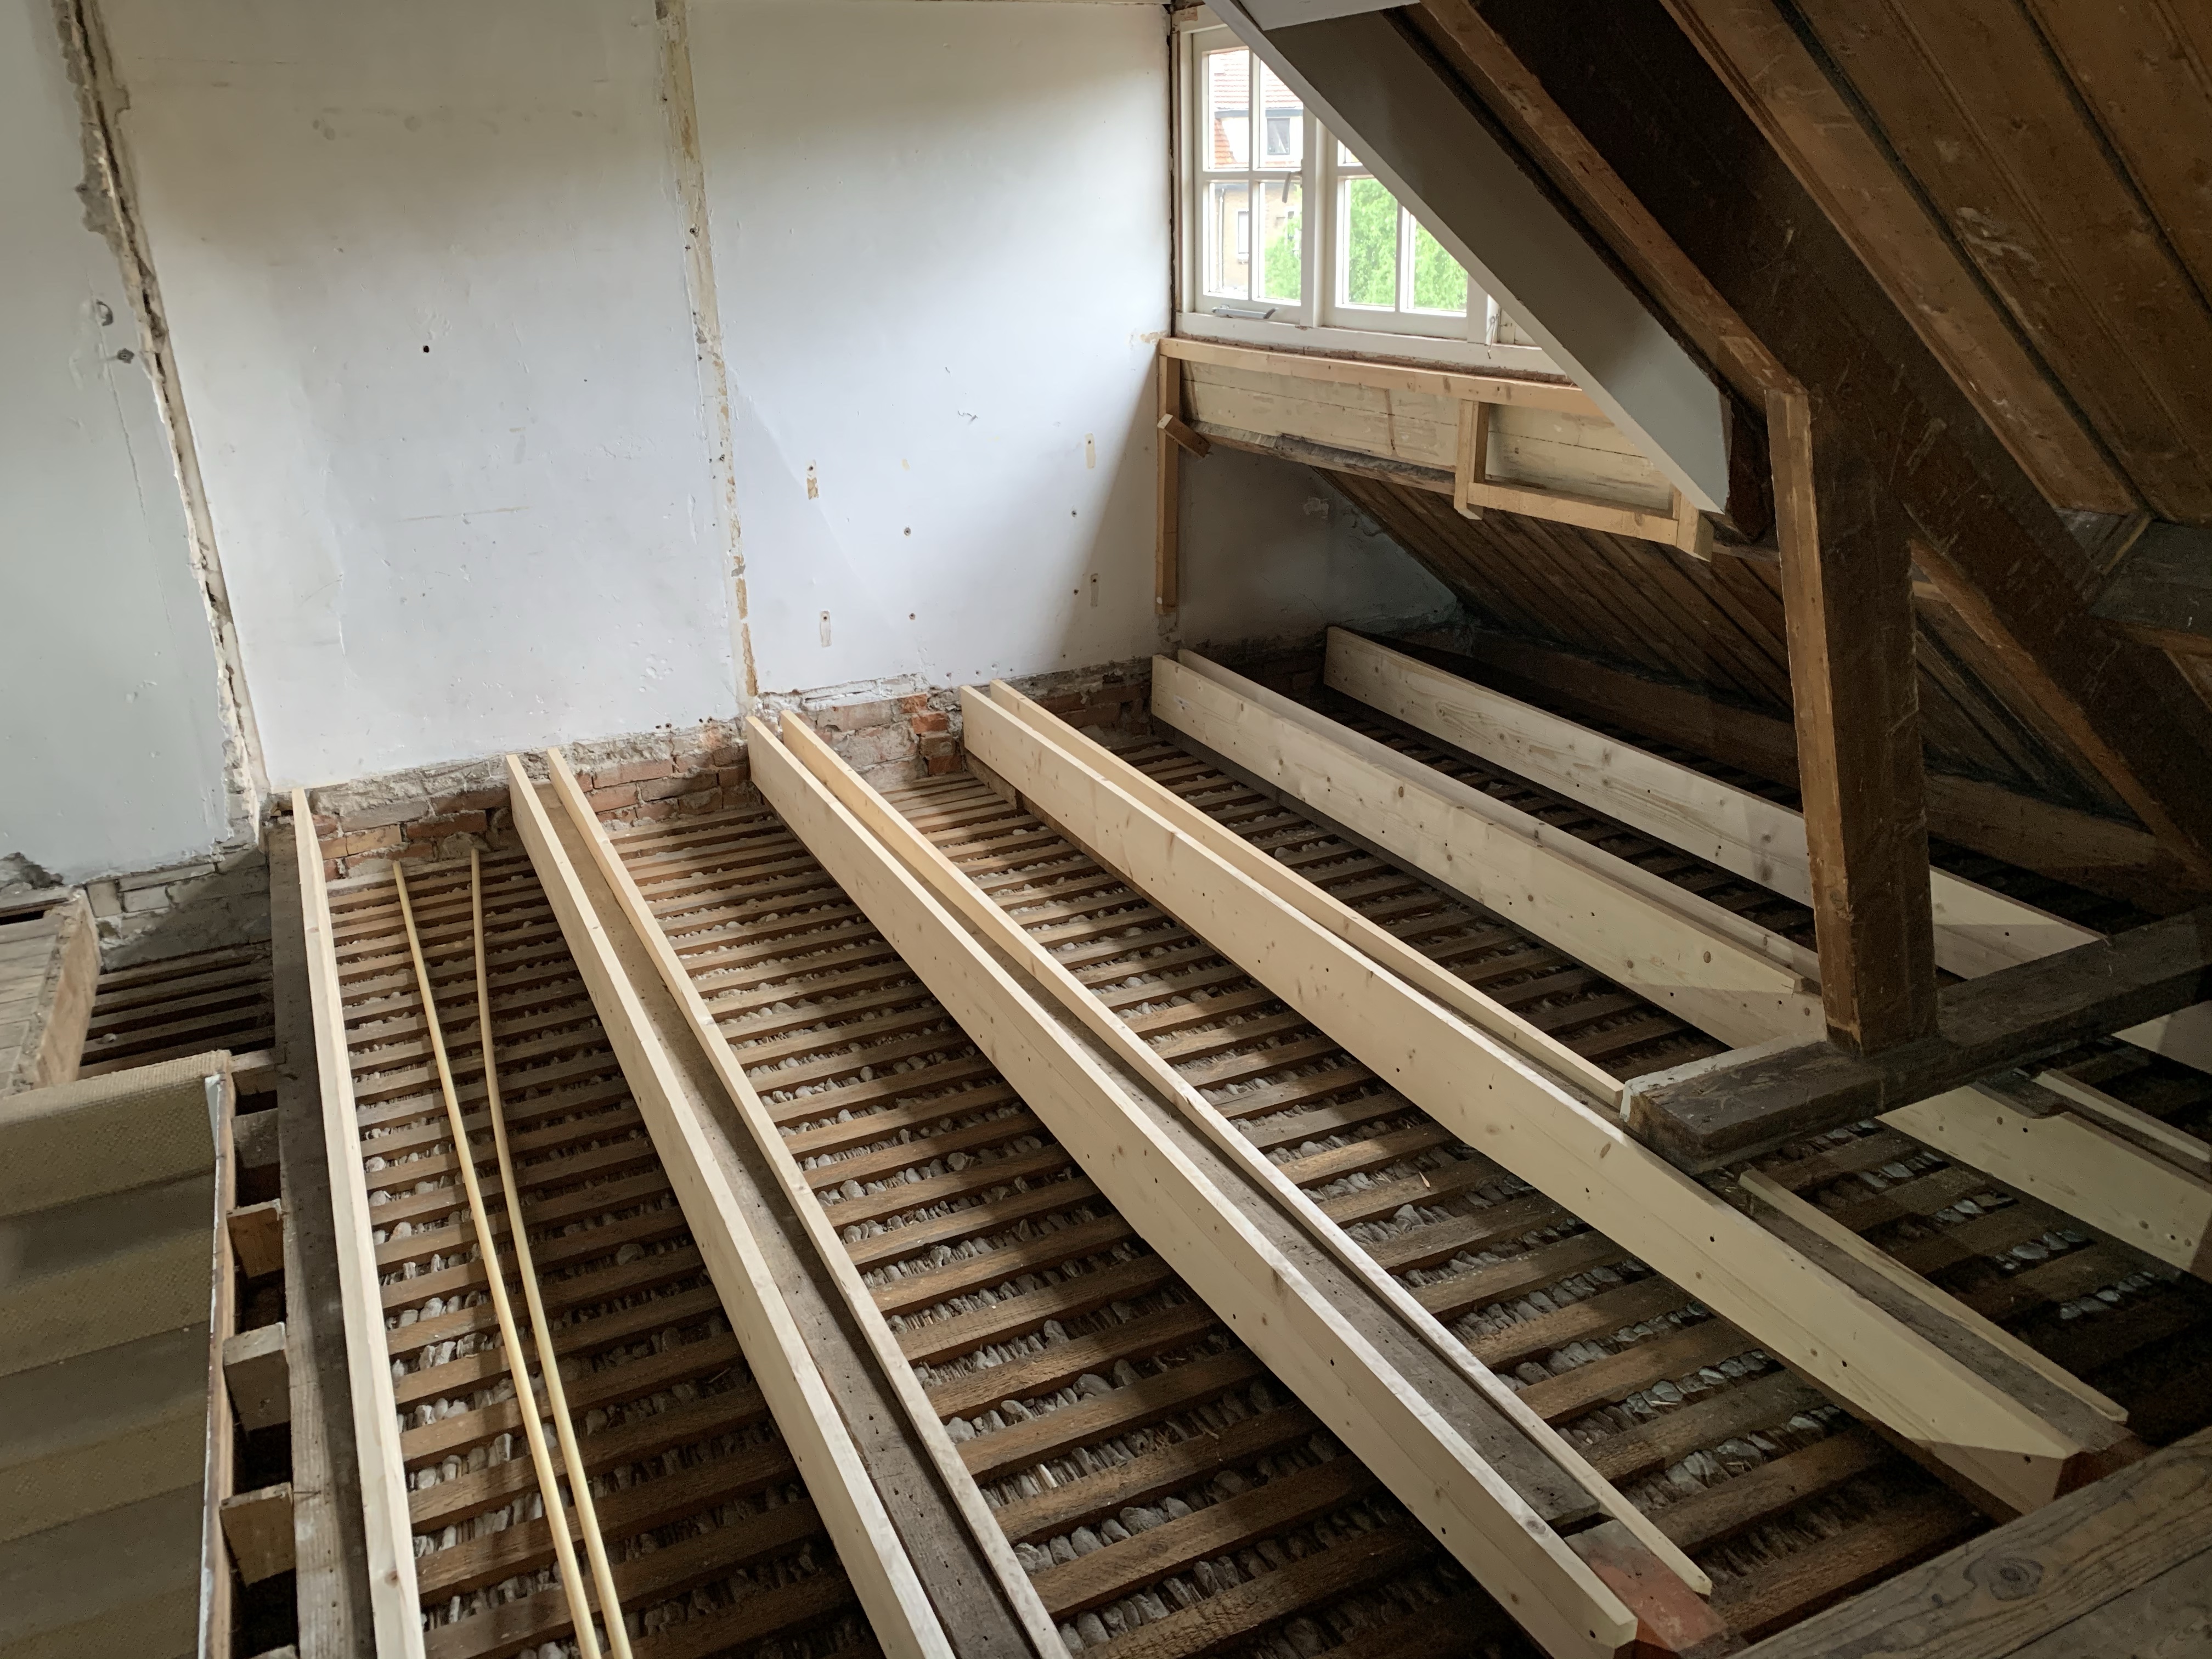
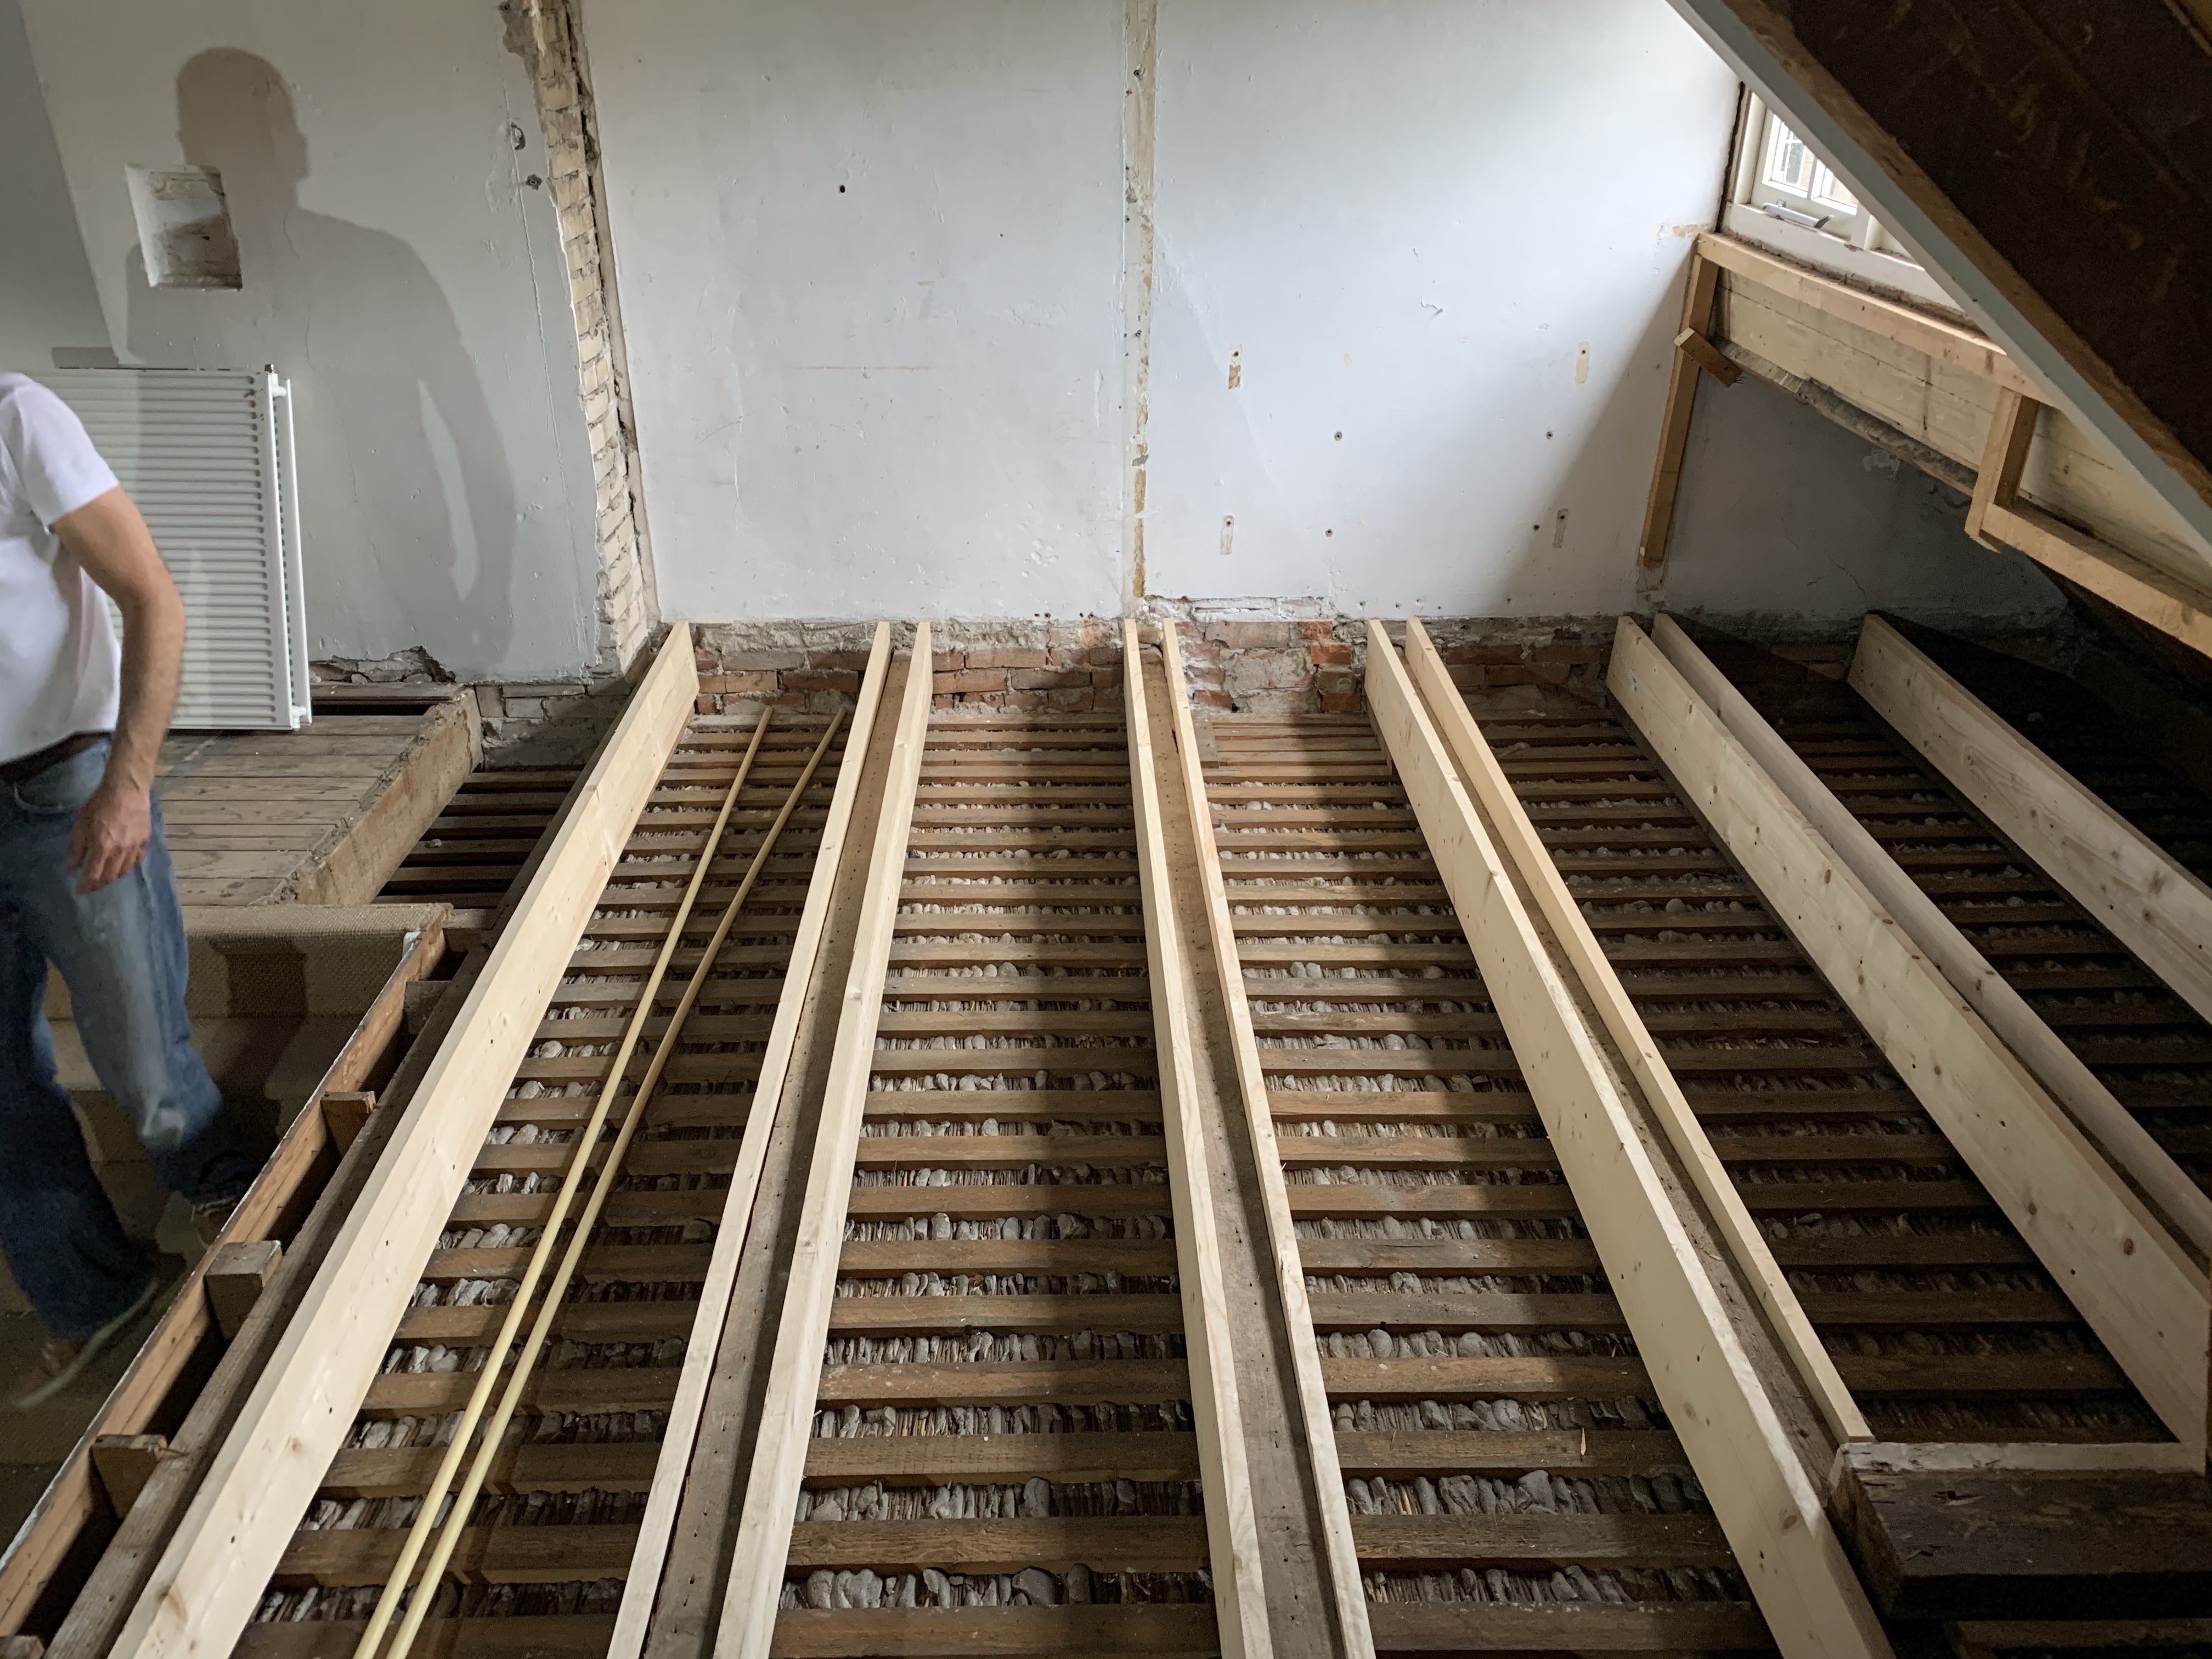
The process of placing these spruce boards is fairly easy. You hold the board flush to the beam at the highest point en attach it with a screw, after that place your level on top of the board and push up the lower end until the board is level. Now attach it with screws all along the beam and your done! Now repeat that for each side of every beam. The difference in height in our case turned out to be 12CM! We placed the OSB type III on top of the beams/boards as the underfloor.
Since the floor was open I also used this occasion to make sure the floor/ceiling was properly insulated and placed a large pipe inside the floor so we will be able to get heating pipes across at a later stage. I also placed an electric cable for the solar array, that will be put on our roof at a later stage.
After five days of hard work we finished the project 3/4 of the way. Next weekend we will finish the last part of the floor and remove and re-pour the concrete slab. What do you think? Worth the time and money?
Project costs:
| Material/services | Costs |
| 25 x spruce board | €334,00 |
| 25 x OSB type III | €543,75 |
| Insulation material (Rd 4,55) including delivery | €364,07 |
| Other material (tubing, wiring, glue screws etc) | €187.96 |
| Electric cable for solar array (35M) | €55.96 |
| Electric cable extra breaker to attic (50M) | €36.32 |
| Network cable (305M) | €57,19 |
| Coax cable and connectors (100M) | €53,59 |
| Rental van for transporting wood (Hornbach Van) | €25,00 |
| Rental van for transporting waste (including fuel) | €114,23 |
| Disposing of waste at ROVA | €126,26 |
| Total costs: | €1898,33 |